Demo: SAML Integrations (OpenID Connect & Partner IDP)

Transcript

Details

Speaker 1: While the Okta application network covers the vast majority of SAS applications out there, it is possible you will run into one that we do not include. Luckily, if they support open ID connect, we can support it with minimal effort. For this example, we will use the content management system WordPress. According to statistics released in April, 2016 it powers roughly 26% of the Internet, totaling over 75 million sites, including the New York Times, Forbes, and many others. Odds are you'll run into it. To accomplish single sign on with WordPress we will use an open ID connect application. The only configuration we have to do is set the internal URL of our WordPress website. The rest of the defaults are sufficient.

Speaker 1: One thing to remember is to assign users to it. In this case, I will assign everybody. On the WordPress side of things, we have to set the various end points. Since we implemented the standard directly, these are predictable and unchanging. Then we go back to the configuration of our open ID client and we get the client ID and client secret from our applications. We put that directly into the WordPress plugin. And then we enable single sign on. Now we log out of everything. When we come back to WordPress, you can see that we are redirected to the Okta login screen. I authenticate with that account and we are logged in to WordPress as we expect. We go from having an independent site, to installing the plugin and having an Okta based single sign on experience in under three minutes. It does not get much easier.

Speaker 2: In this demo, we connect to partner's SAML IdP. The use cases that our partner wants to access resources protected by Okta. To do this, we will configure an inbound SAML IdP connection to Okta in two ways. First, I will do this via the admin console and then I will do it via the API.

Speaker 2: Okay. In the admin console, I go to security and identity providers and then I click on the green button to create a new one. I am prompted to select a name for this connection. I will call it Box since they are a strong Okta partner, and then I will select a username for this sample assertion. I will scroll down a little bit and I will see that I can choose how Okta should behave if an incoming assertion matches an existing user. For example, I can update user profiles with attributes in the assertion and I can also assign the user to groups based off of the groups contained within the assertion. I will scroll down further where I will actually enter in my IdP values. I will upload a certificate for this IdP. And that's basically it for the simplest SAML configuration. If you have a finicky IdP with particular settings, rest assured that Okta has you covered with these advanced settings. I will go ahead and click this green button to complete this setup.

Speaker 2: Next, I want to show you how you can achieve the same outcome with the APIs. This is geared for developers and platform customers. If you go to developer.okta.com, you can see our rich list of APIs. On the left hand side I go to identity providers. And you will see here that this is a really strong developer experience. I can click on this orange button to run these calls in Postman, which is a REST API client that is popular among developers. I will go ahead and import these calls. Now I have all these API calls at my disposal.

Speaker 2: This particular call that I am interested in is called ADD SAML to IdP. You will see here that we provide all the code and all the sample code necessary for developers. They would just tweak it as necessary with real values. In my case, I will just go ahead and change the name of this connection to Gardner Demo IdP, and then I will send over this call to Okta. The response indicates a success. Let us go to Okta and double check this.

Speaker 2: Indeed, within Okta we see the newly created IdP. Everything is all set up. You will also notice that we provide values for the IdP so it knows where to send the assertion. You can also download the meta-data and you can import that into the IdP as well to finish the setup.

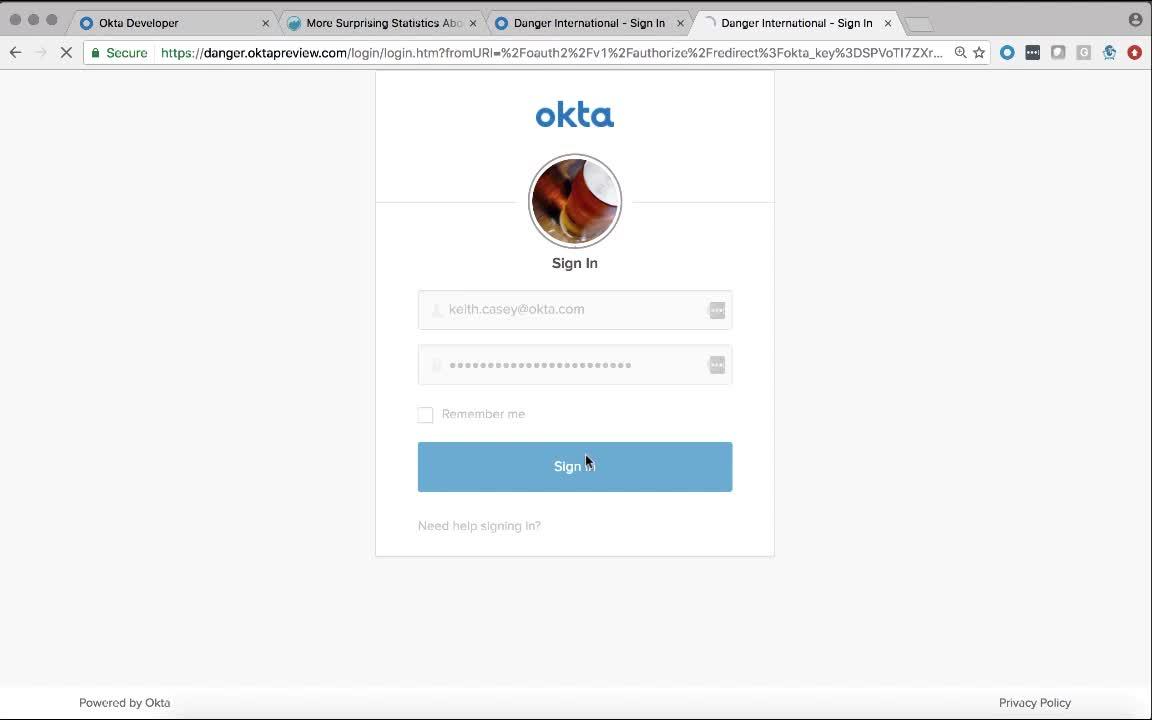
We’ll show you the administrative steps to create and enable a federated Single Sign-On connection using SAML 2.0 or OpenID Connect.