Demo Video: Okta Advanced Server Access
Transcript
Let's quickly walk through how it works, which we'll see in action with the demo. So first two users will installed a native client application on the workstations which will allow them to interact with their local SSH and RDP tools and communicate with our platform. Servers that are enrolled with Okta run a lightweight agent that manages the local user and group accounts and then captures all of the login events. Every request is independently authenticated and authorized against the respective sign in policies and role based access controls associated with the servers. And only when access is granted is this certificate minted through a built-in certificate authority. And each certificate is short-lived and tightly scoped to the user, device, and the project that the server belongs to, and they expire in three minutes, which allows them to only be used within that scope once.
That certificate is delivered to the client application and is used to initiate a secure session via SSH or RDP. And then that agent, that's on the machine, is going to capture that log in event and deliver it back to the platform for auditing purposes. All this is extremely seamless and elegant practice, so let's see it live.
I'm going to show first the end user experience and then we will talk about the administrator experience, but as an end user I would just have my client application installed, as we mentioned. At the beginning of my workday, I'm just going to log in to advanced server access. This is first going to check if I have an authenticated Okta session so I don't, which means I have to now send a push and I'll authenticate with Okta. That was me just getting my multifactor authentication notification. And I'll approve that and send it back.
This is means I'm authenticated with Okta but we're going to take it one step further. Because we're taking that authenticated Okta session and we're binding it to this machine that's running the client application. When we talk about zero trust, we talk about user plus a device. So this combination gives us, it gives us a strongly authenticated session, which we can now use to interact with our server inventory.
With that client application ships a helpful CLI for performing a number of administrative and end user tasks. I'm just going to pop up in one of my servers that I have in my inventory here. Let's just pick one of these servers. And I'm just going to type SSH to that server name. Pretty nifty. I just logged in by SSH to a EC2 instance running on AWS, but what's really cool about this is I didn't use a traditional SSH key to log in. So that might be the common method, but if you see here now there actually is no data SSH directory in my home folder on this machine, which means there's no authorized keys file. What we're really trying to get away from is using those static credentials like SSH keys to log in, so I didn't actually use a key to log in. I use that certificate, which I'll talk about how that works in a second.
Also, on this machine, as you can see, this is my local account. This is actually an Okta user account. And then I'm a member of these groups which are actually Okta groups, that are pushed from Okta, all the way downstream to the machine. And in fact every user, who is assigned to the project that the server belongs to, gets created their own local account. And if anything changes on Okta side, if the user leaves the company, if they changed teams, that gets reflected on the machine near instantly. The way that works is we run a little agent on this machine called SFTD. When you install SFTD it enrolls the server with an Okta project and that looks up all the users and groups that belong to that project and creates the accounts. So this is how we're managing the local user group accounts and also how we're capturing all the login events.
To illustrate how the certificate-based authentication works, let me jump back to the administrative dashboard, and we'll see that in action. This is the event server access dashboard. And these login events represent me logging into that server. And we talk about in the context of zero trust, which is a user plus a device at a point in time. So the access decision that was made was I was authenticated by Okta, was bound to this workstation, which is my MacBook Pro, to this specific server in this project, at this point in time. Now that also represents the credential that was issued. So we minted at a credential and gave it back to the client application, which then used that credential to log into the machine.
One thing I didn't show on this server is that this server was configured to trust certificates that are signed by us. So when we do that installation of the agent, we add the single line configuration that says "trust certificates that are signed by Okta CA". And each one of these Okta projects has its own independent CA associated with it. So it mints certificates only for the servers that belong in the project and it only mints them once the request has been fully authenticated and authorized. That's really zero trust in action.
The same workflow works the same for windows servers. So let me come back to my server inventory here and I've got a windows machine here. This same SFT client application also interfaces with my local RDP tool so I can type SFT RDP. It's going to pop up in my local RDP client and perform the same authentication mechanism behind the scenes. Now what's cool about this is, as a user on this machine, we actually have, we're running the agent just like we are in Linux. The agent creates local user accounts. So this is my Okta user account, and I'm an administrator, and that has been provisioned from Okta all the way downstream to the server itself. And if we go back to that audit log, we will see the same type of authentication mechanism is I'm issued a credential. This time it's a X509 certificate. Scoped to the user account, the client, to this windows server inside of this project, at this point in time. So very seamless authentication and authorization workflows for both SSH and RDP.
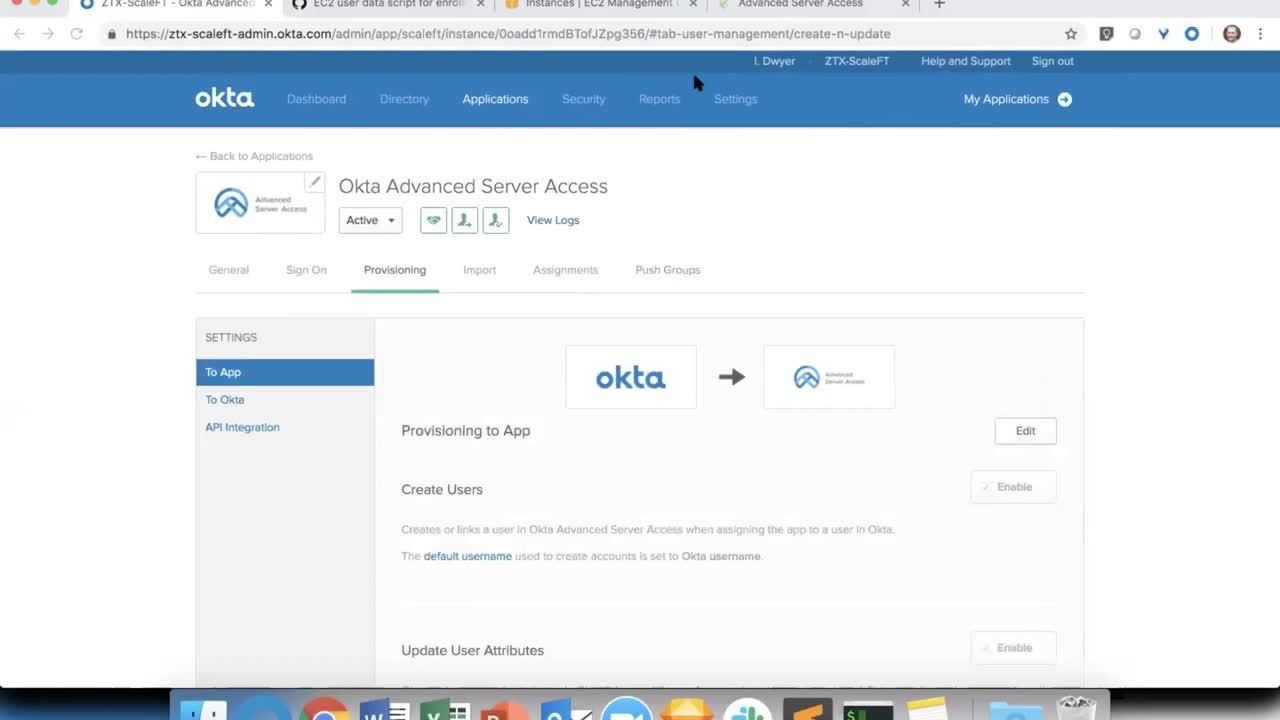
Now let's look at it from an administrative perspective. If you used Okta before, as an administrator, you're very familiar with adding applications. Our Okta integration network has over 6,000 and advanced server access is delivered as an integrated application just like any other. The difference being it's an Okta product. You would assign your users and your groups to the advanced server access application just like you would any other application. You set up your provisioning. So we do the provisioning of the users, and we do all the cred on users, all the way from Okta to advanced server access, and then we also push the groups downstream.
Now if you're familiar with traditional lifecycle management from an application perspective, we're going to take things one step further. Because we are provisioning users and groups from Okta to advance server access, but then advance server access provisions all the way down to the servers. So you get that extra level of lifecycle management all the way to the downstream machines. Which is pretty cool when you think about it.
Jumping back to our Okta advanced server access dashboard, here you can see those same groups and those same users that had been provisioned. And within advanced server access we have the notion of projects. A project is a collection of servers and then their associated role based access controls. So these are a few servers that I have in this project. And these are the groups that I've assigned and you can see we create these local user accounts. These are the accounts and their IDs. They get created on the machine via that agent. So if anything changes in Okta, that gets pushed to advanced server access. Our agent calls out every 30 seconds to our back end and says, "Hey, has anything changed from the user perspective? Any you group membership changes?' If so, we change it on the machine. And you can see that reflected here very, very seamlessly.
Now the way it kind of works, we'll walk through actually creating a project. And we're enrolling a server and then assigning users. So by default these users and groups that get assigned to the application, they don't get privileges to log into any servers. That has to be explicit. And we'll walk through that live right here.
I'm going to create a new project called a webinar demo. I'm going to leave a bunch of defaults. This is going to create a brand new project. In our back end we just spun up a new certificate authority that's going to mint certificates for the servers in this project. But it's a new project. That means there's no servers, there's no groups, and there's no users. So let's walk through creating all of that. The way that you enroll servers with a specific project is through an enrollment process, either by integrating a cloud account, so you could have an AWS or GCP account ID, and then anytime you install a server with the agent, it's gonna automatically enroll with this project. Or you can do it the manual way, which is what we're going to do right now.
Now, one thing I should note is that all of this is done via automation. So as I walked through this very manual process just to demonstrate how it works, imagine this at scale, fully automated with whatever you use for config management, Chef, Puppet, Terraform, Ansible. Those are all the tools that most of our customers use. So this enrollment token is just a random string. It doesn't carry any really security properties. It's just there to associate a specific server with a specific advanced server access project. So now that we have that, let's actually go through the process of spinning up a new EC2 instance on AWS.
We're going to do this again the very manual way. Imagine doing this via automation, but I'm going to pick a Ubuntu instance, 22Micro. Leave everything default. The interesting thing that we need to add here is, when this instance starts up, we want to run a little enrollment script. This is gonna both install the server agent and also enroll the server with a specific project. This is what that script looks like. It's pretty lightweight. We just take that token that we just created. We copy that here. We're going to give this server a little configuration file here. All we're going to do is give it a name, so it's easy to reference. We'll just call it webinar demo.
This is where we install the server agent. Right here. And then this is where we're configuring that server to trust the certificates that are signed by us. This 30 so lines of bash here, or less, is all it really takes to get this product working, and up and running with your infrastructure. So imagine this in context of however you do config management today, whether build this into your machine images, or into your Chef Cookbooks, or Terraform provider, all that stuff is very seamless and easy to do. But we're going to do it the manual way just for demonstration. So this script is going to run when this server is spun up. Just going to do, click things here, just going to give it a nice little name. Just call it webinar server. Going to drop it into a security group. We'll just put it into a default web server.
This has 22, 80, 443, we only need 22 but think of this as potential web server. The last interesting thing here is if you've ever spun up an EC2 instance the manual way on AWS, it's going to ask you to select a key pair. So this is a form of a static credential that can be used to access this server. This is what we're trying to avoid. We're going to proceed without a key pair. And AWS is going to make us acknowledge because they may not know that you can actually still log into a server using our much more advanced and elegant method. So we're going to acknowledge and then launch this instance.
While that instance is launching, let's jump back to the server access dashboard. And here's where we're going to explicitly assign the groups. So right now no one's assigned, but I'm going to add the Okta admin group, which is an Okta group. Grant admin rights, which is going to give me pseudo privileges on the server. And then I'm going to sync that group to the server. Okay. If we go back to that project configuration, you can see this group has been assigned. It gives us this name and it gives us this group ID. It also, I was the only member of that group, so it created my local user account with this ID. Let's add a few more people through another group. We've got Okta demo users. We're not going to grant them pseudo privileges, just general user, but we are going to sync that group to the servers. Now if we go back, we'll see the same group and this time a bunch of new users have been installed or added.
Now let's check in on our server here. Running. Initializing. Let's just see if that has been enrolled. Maybe give it a second here. There it is. It has been spun up, agent installed, and enrolled with our project. So you can see this as that webinar demo server that we just created. If I copy this and I jump back to my terminal, I can just type SSH webinar demo server and there it is. I just logged in to that server we just created. But this time I used the certificate. I didn't use a static credential. You can see my local account. This is that local account that was just created. This all just happened. These are the group accounts. And again, all of the users and groups that were assigned get created a local account. So all that just happened on the fly, which is really cool. So you can imagine thinking of spinning up thousands of servers on demand using automation. We're going to install the agent. We're going add the users in groups. And then extend very seamless SSH and RDP authentication workflows to the users who end up needing to access those servers.