


This blog post will teach you about Okta Workflows connectors.
Use a pre-built connector
When you start building with Okta Workflows, use one of the 60+ pre-built connectors. Pre-built connectors control applications or web services such as Okta, Gmail, Office 365, Slack, Jira, and others.
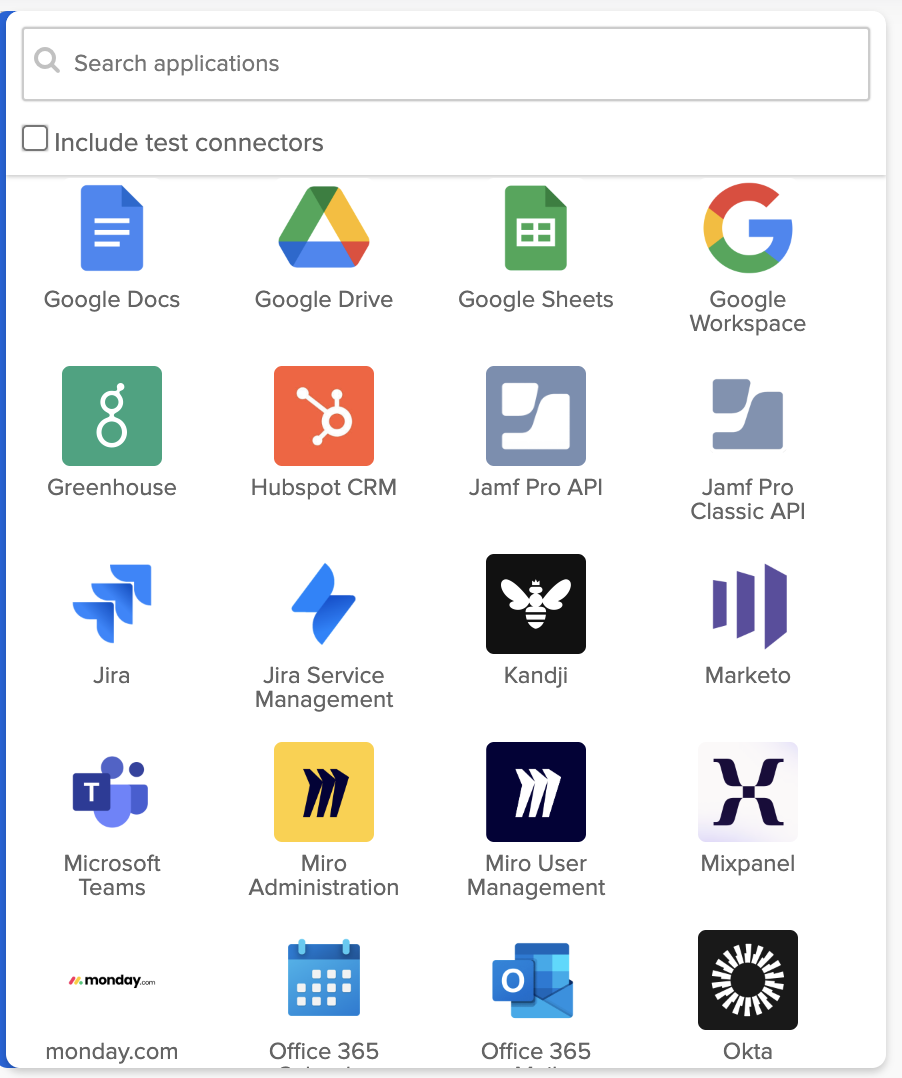
Okta Workflows connectors.
Every connector has actions.
The following is a partial list of actions available from the Okta connector:
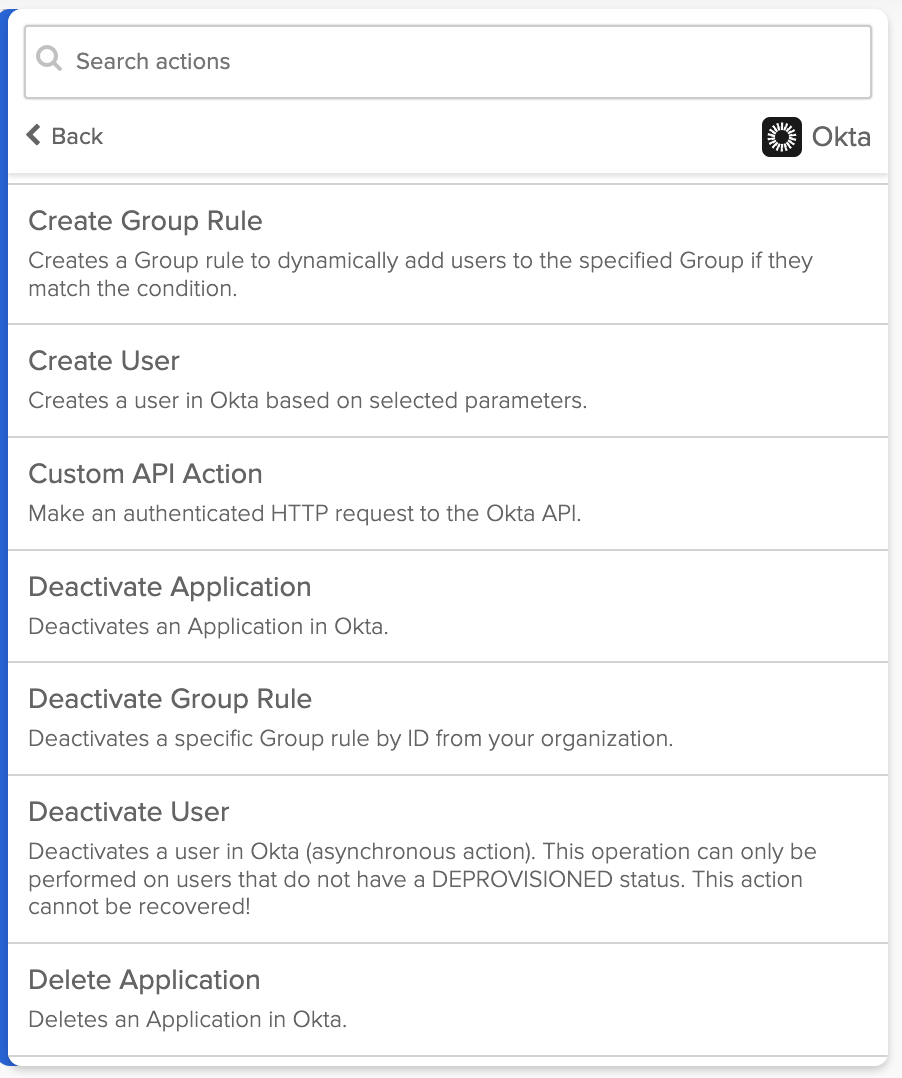
Okta connector actions.
These actions are available from the Google Drive connector:
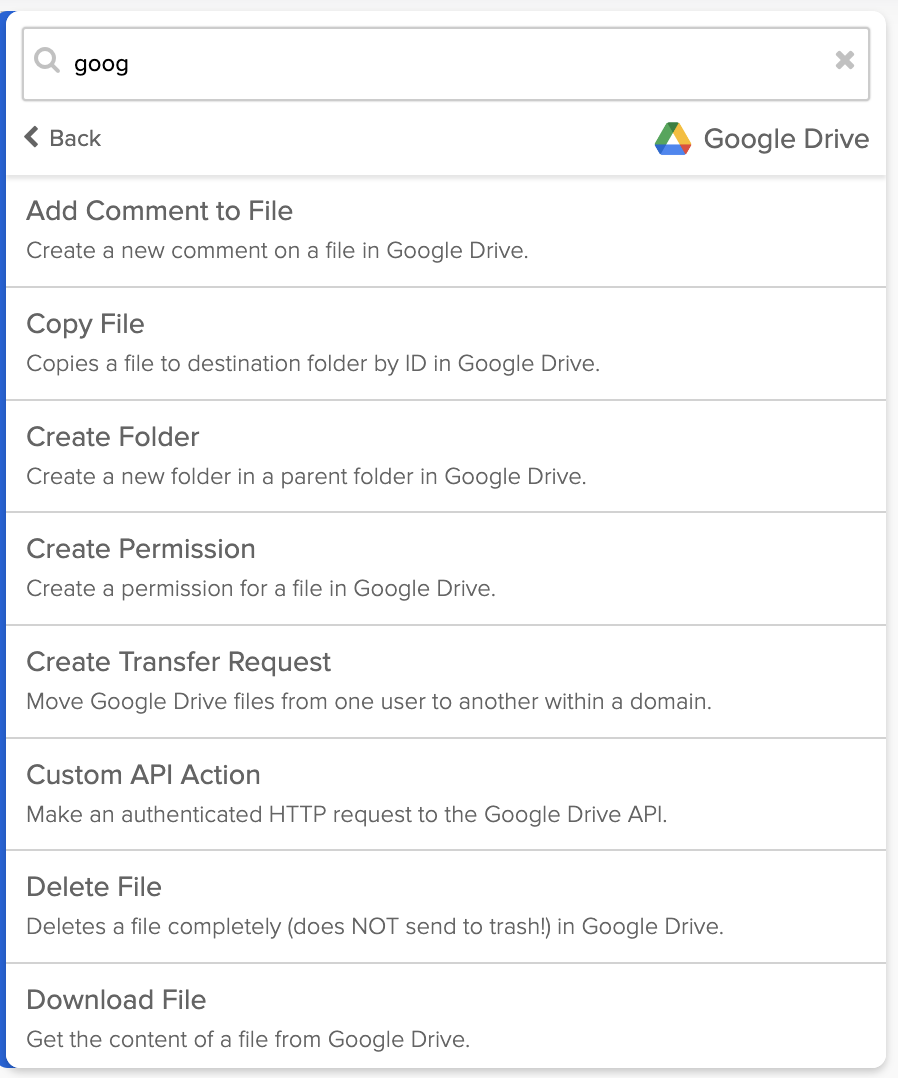
Partial list of Google Drive connector actions.
Okta Workflows actions are API endpoints behind the scenes.
Configure a connection
You must create a connection to authenticate with that application or service before calling actions. The authentication method depends on the connector. Authentication types include API keys, Basic Auth, OAuth, or custom.
You can create and save multiple connections for a connector. One connection could be to a test and another to the production environments.
The Connections page lists the connections you configured:
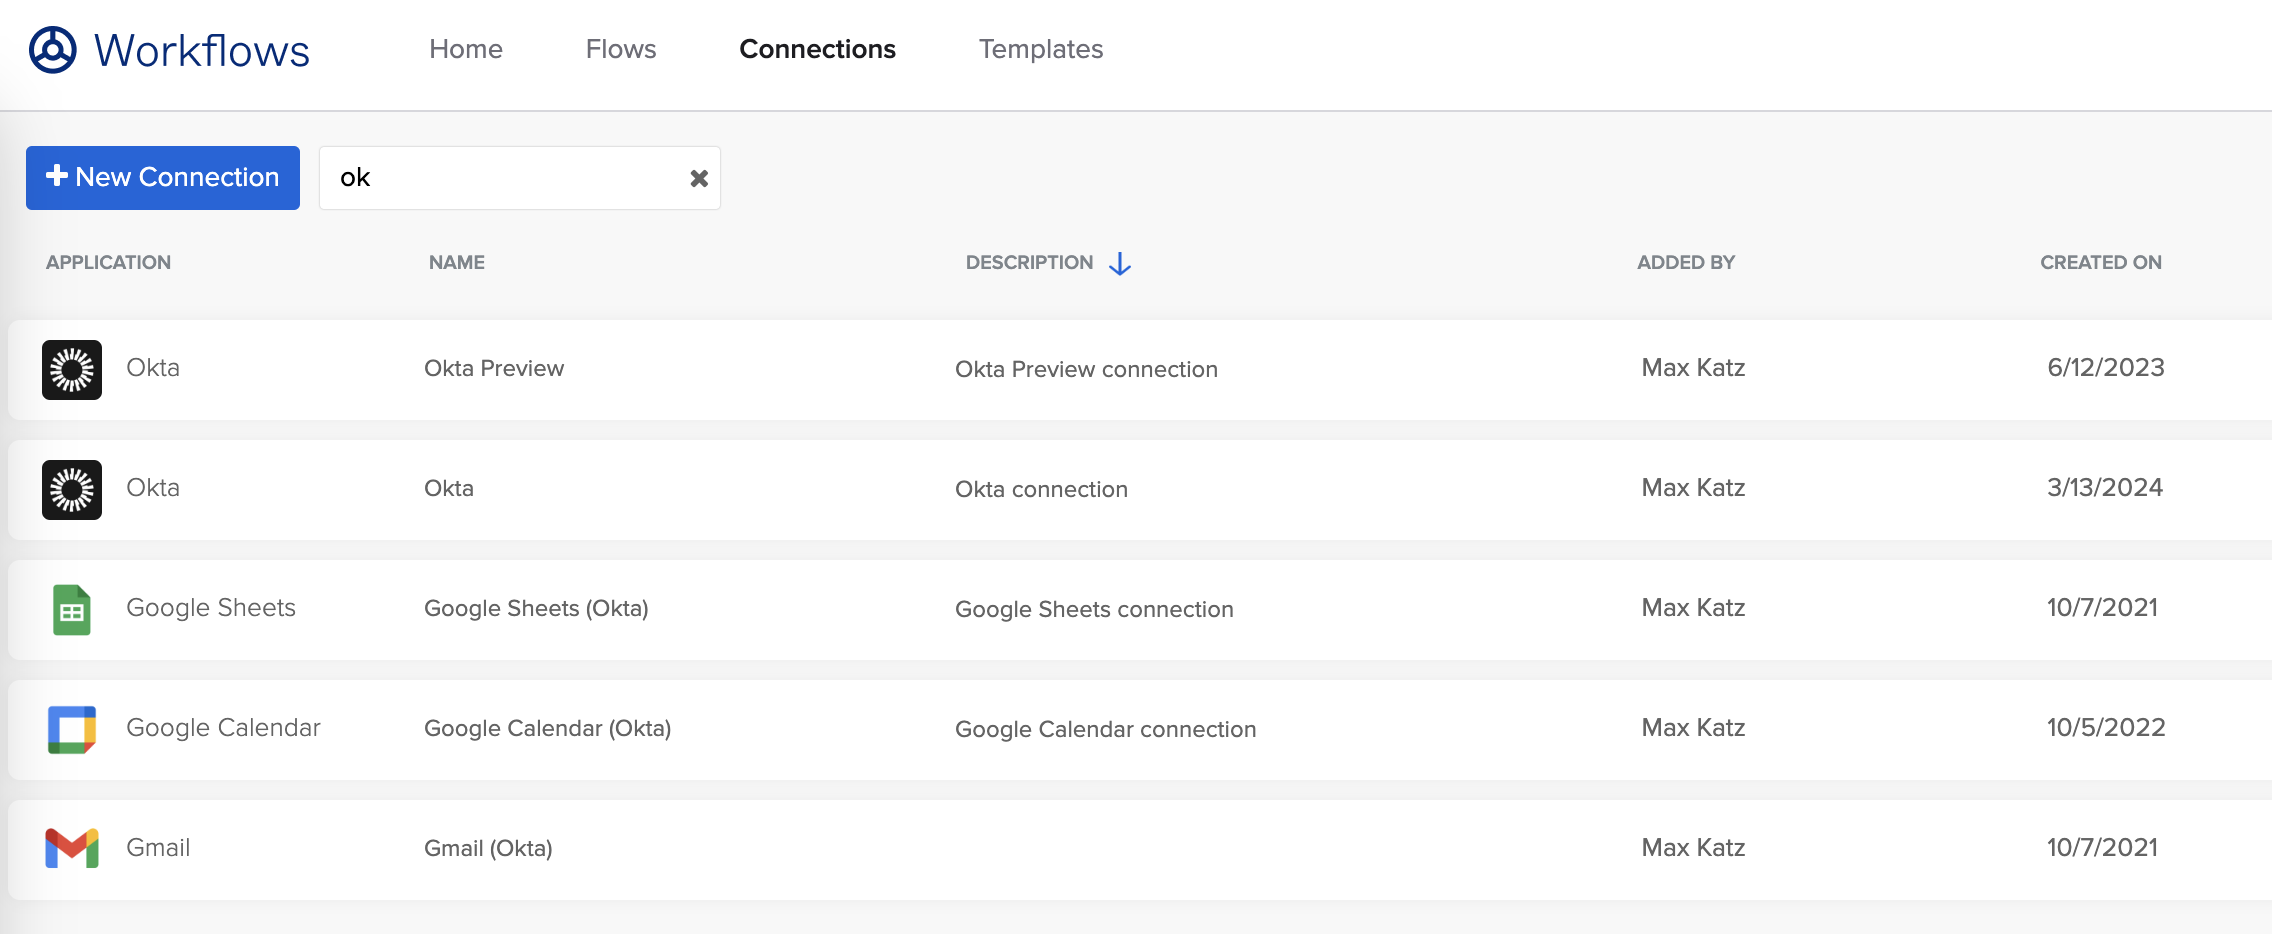
Okta Workflows connections (partial list).
Call an action
Add an action app card on a flow to call an action from a connector.
For example, the following image shows calling the Read User action from the Okta connector.
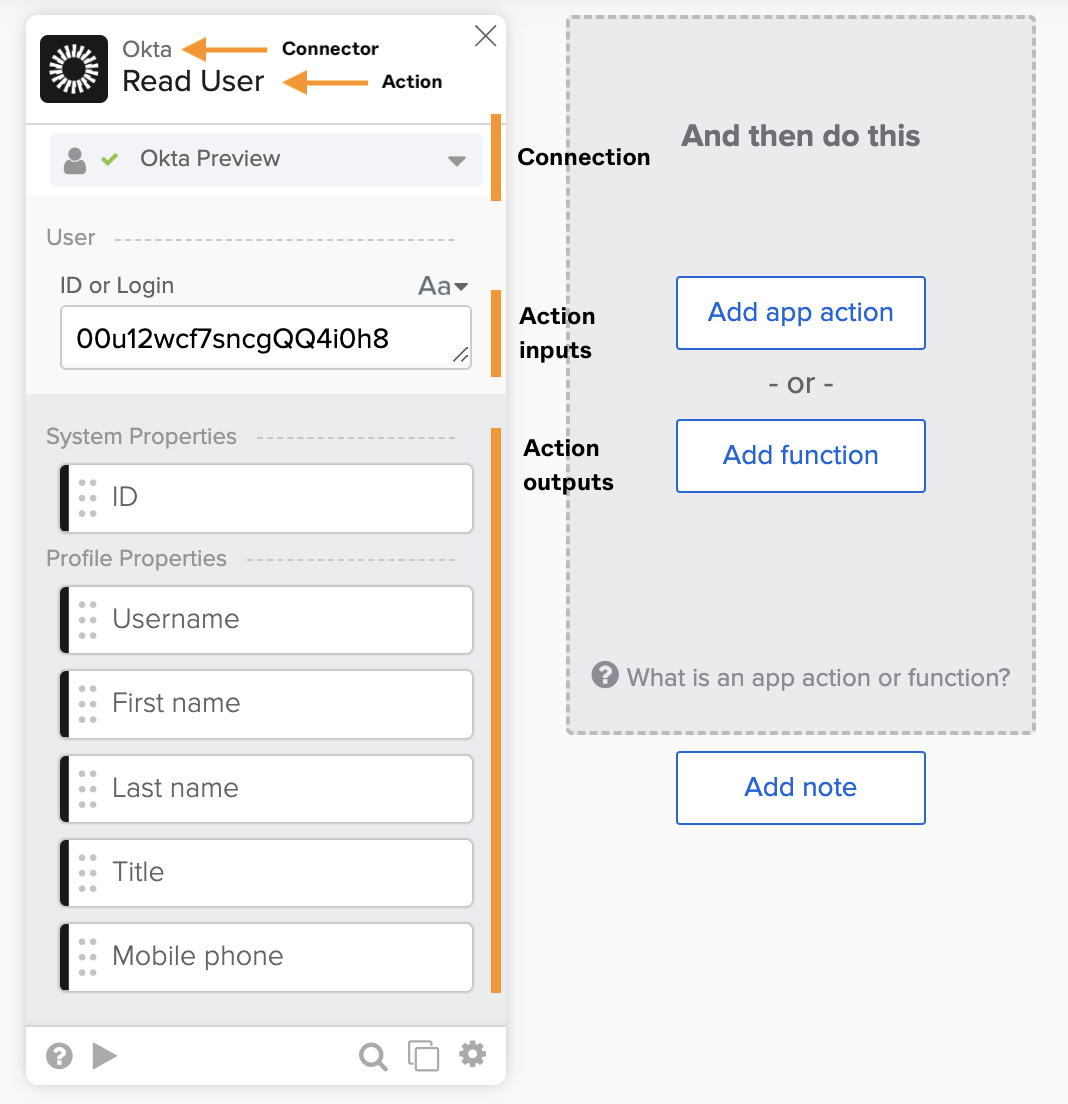
The Okta – Read User action.
Behind the scenes, the action calls the Get User Okta API when testing the flow:
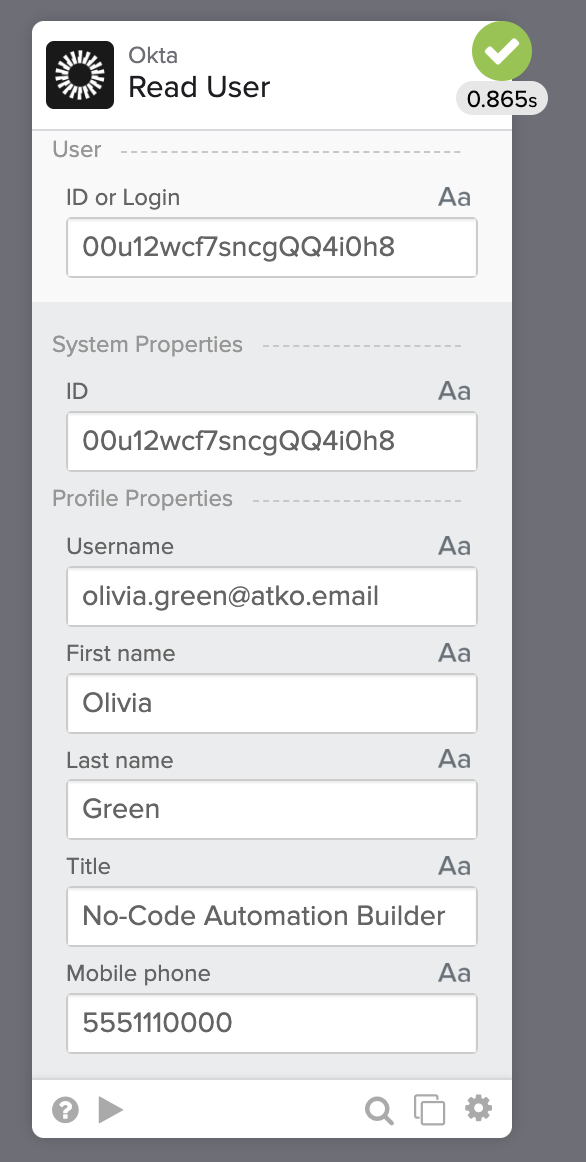
Running a flow with the Okta – Read User card.
An action exposes input fields corresponding to API request parameters and output fields corresponding to API request response.
Using connector actions is more straightforward than setting up a manual API call. You configure a connection, and the card prompts you to enter the required inputs to run the action.
Call a custom action
Okta Workflows has a pre-built Shopify connector. The Shopify connector has the following actions:
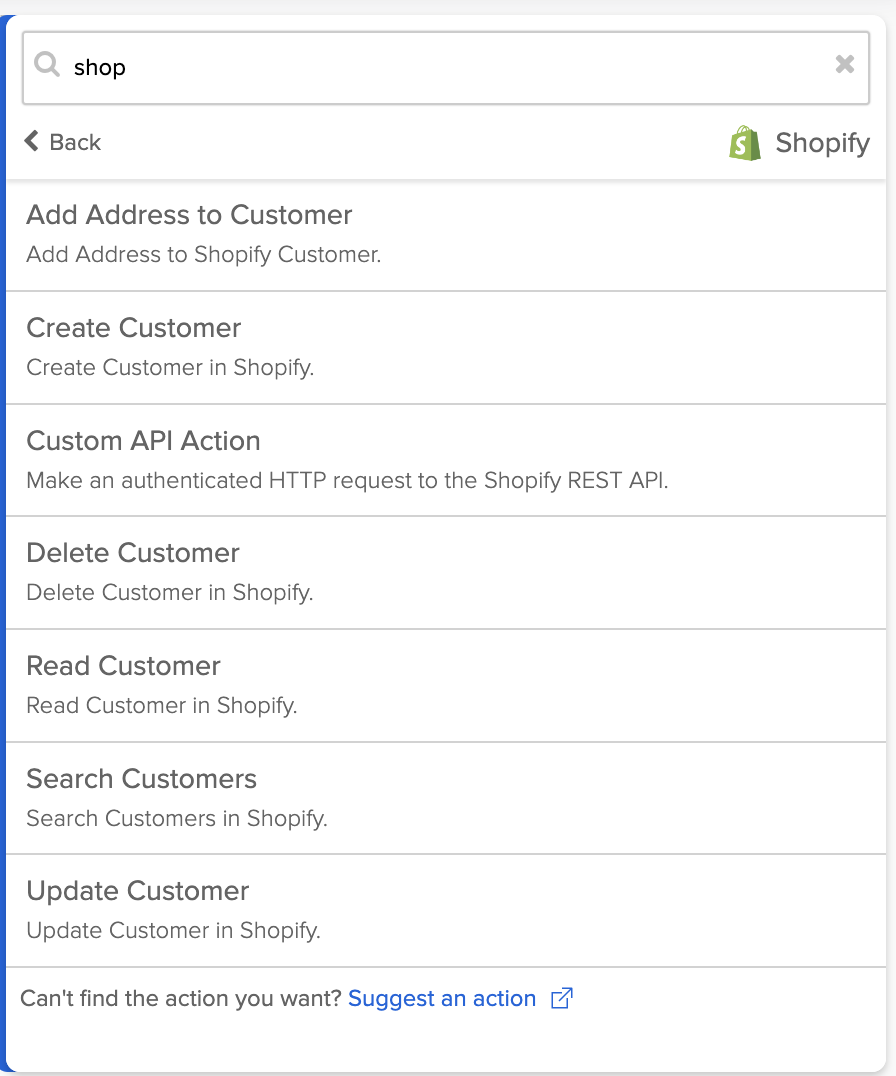
Shopify connector actions.
The image below shows using the Shopify – Create Customer action from the connector:
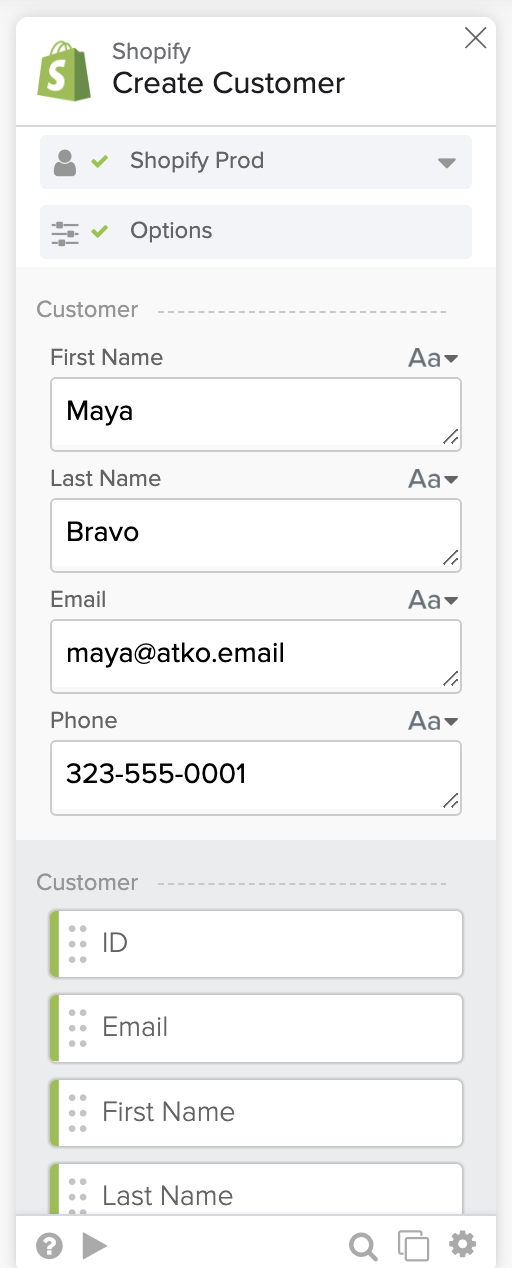
Shopify – Create Customer action.
Let’s say you want to list all the customers in Shopify.
You won’t see a List All Customers action if you look at the action list. But you will see retrieves a list of customers API end point in the Shopify developer documentation.
How do you call this endpoint from an Okta Workflows flow?
Every connector has the Custom API Action action that allows to call any API endpoint on the connector.
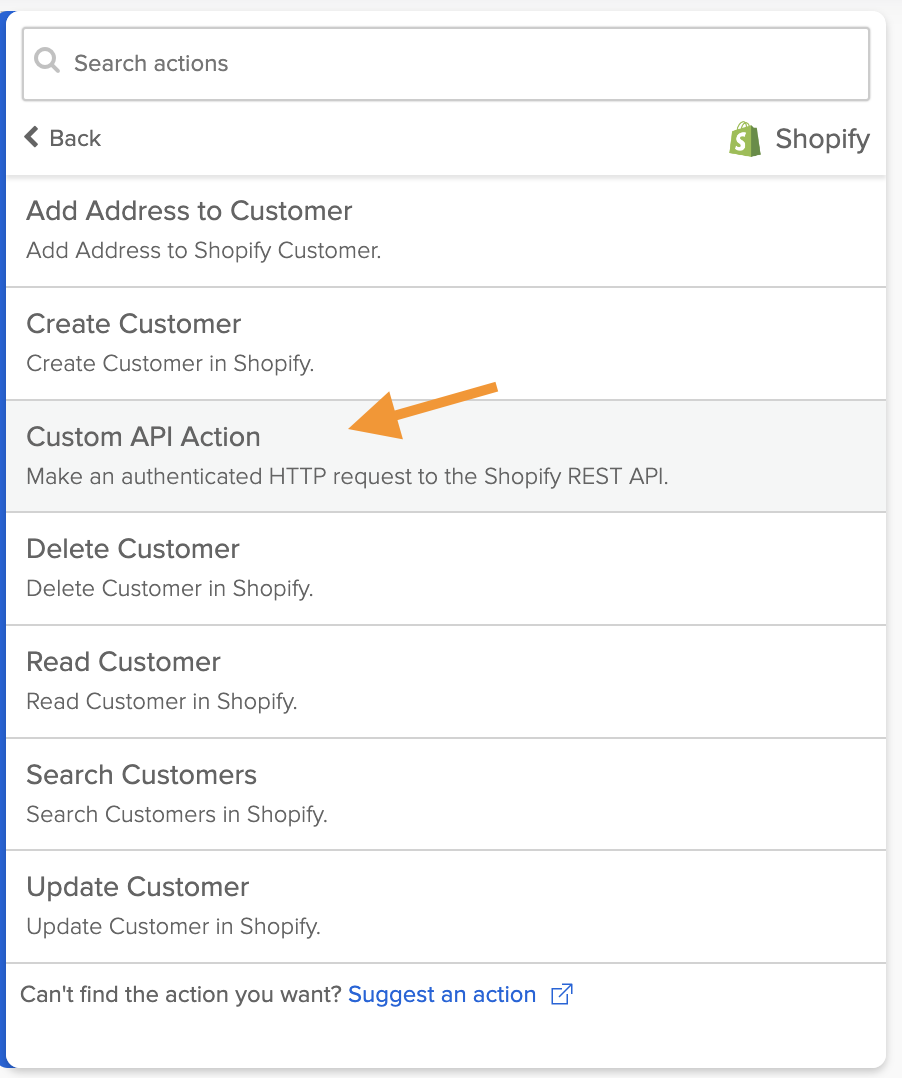
Custom API Action action.
The screenshot below shows Shopify’s Custom API Action card. The card reuses Shopify’s connection information and allows to enter the API’s relative URL, query, and headers parameters.
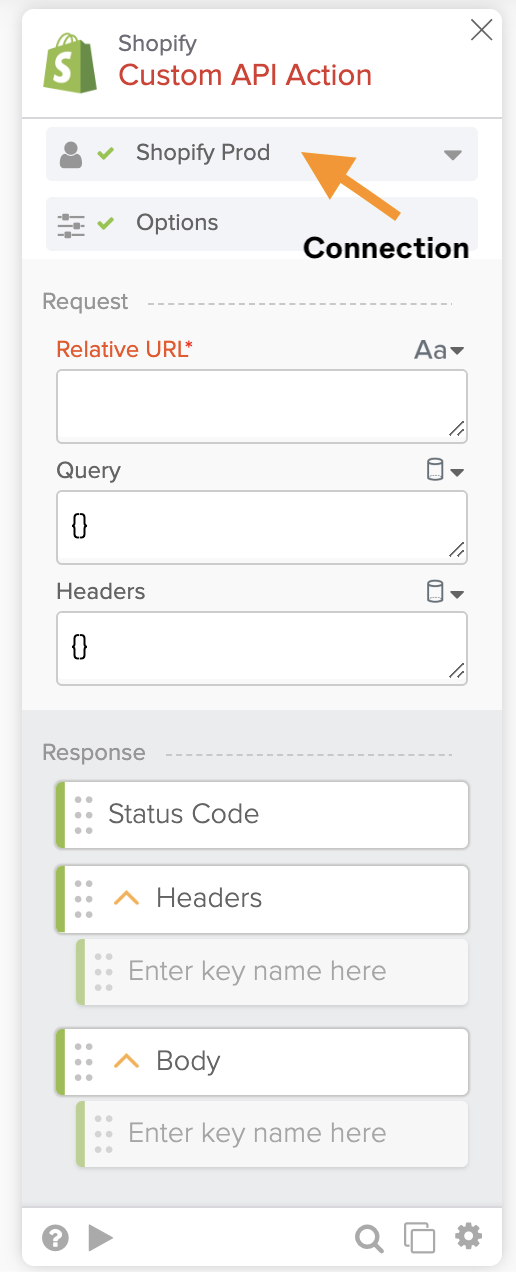
Custom API Action card.
Use the Custom API Action in the following use cases:
- You need to call an API endpoint that is unavailable on the pre-built connector.
- An action is available on the pre-built connector but doesn’t expose all the request parameters.
The screenshot below shows using the Custom API Action card to list all customers in Shopify:
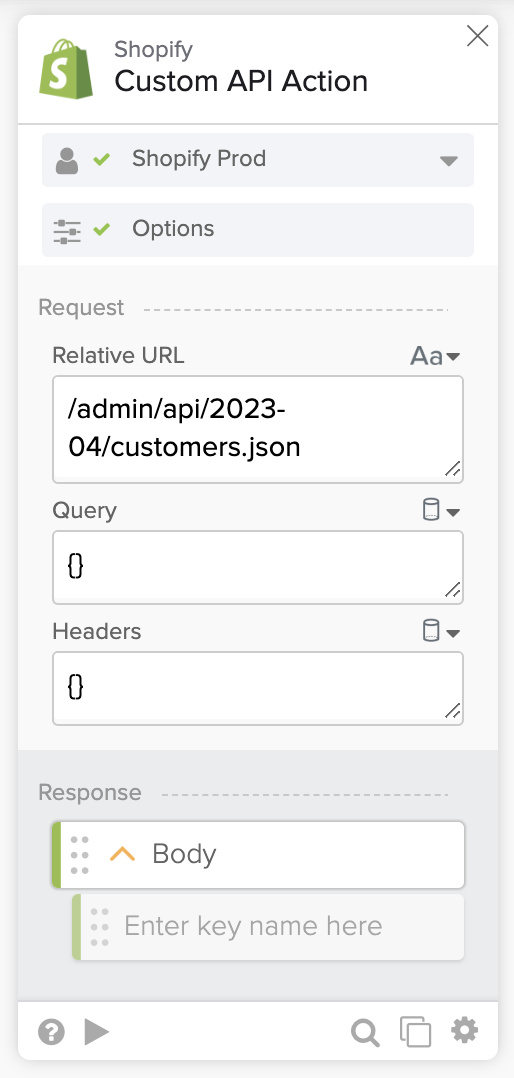
The Shopify Custom API Action card.
You can set the Query and Headers fields if the API requires them.
Testing the flow with the Custom API Action card lists all Shopify customers:
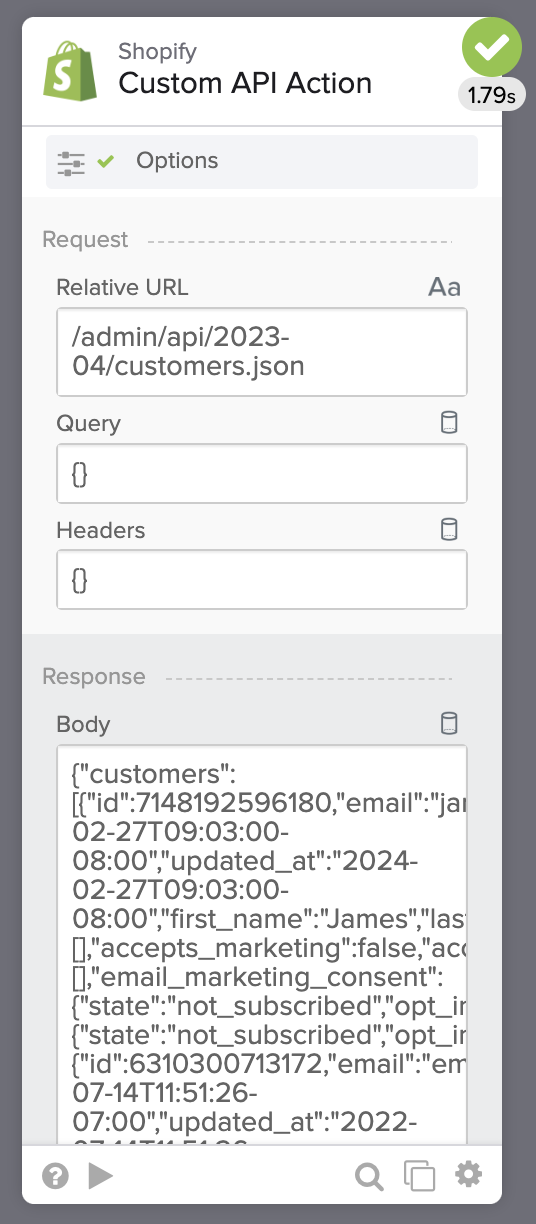
Testing the Shopify Custom API Action card.
So far, you have learned about the pre-built connectors. You can use the available actions or the custom API actions.
In the following section, you will learn how to call an API that doesn’t have a pre-built connector in Okta Workflows.
Use the pre-built API Connector
You want to use ShipEngine API to validate addresses. ShipEngine doesn’t have a pre-built connector in Okta Workflows. You can use the API Connector connector to call ShipEngine API or any other API that doesn’t have a pre-built connector in Okta Workflows.
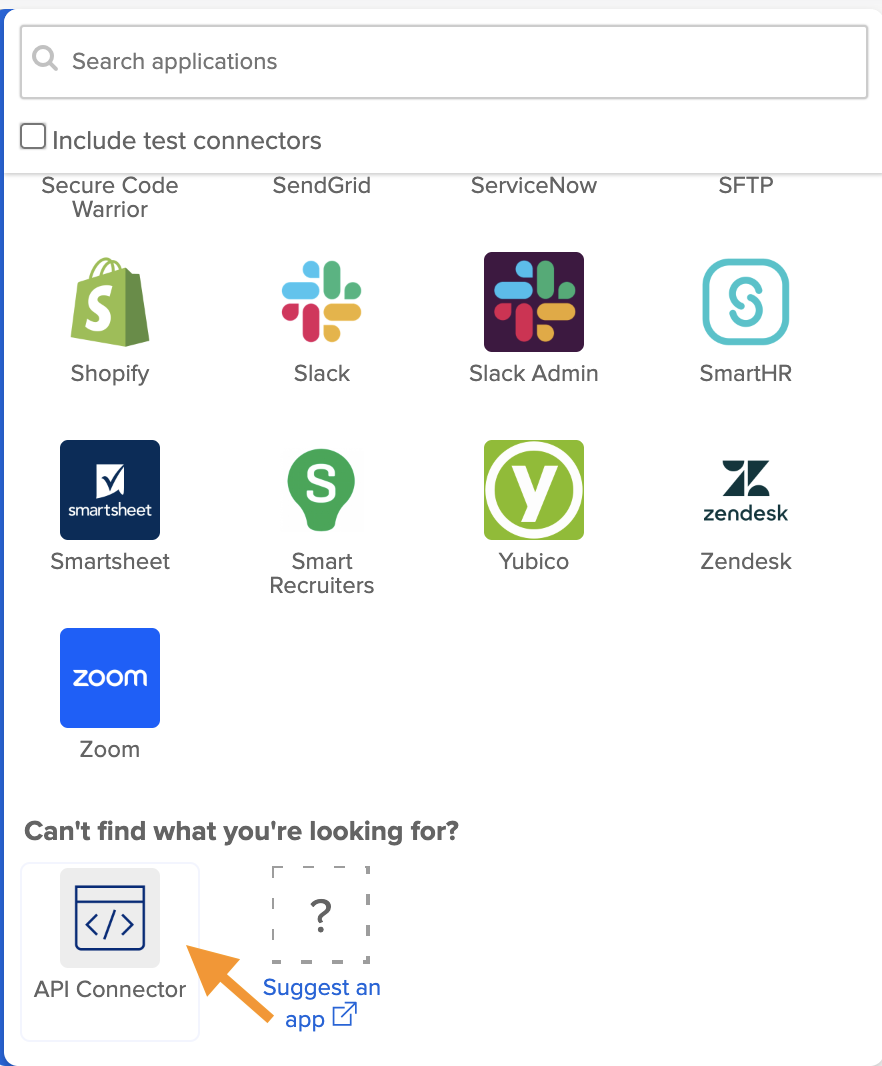
Selecting the API Connector.
In the screenshot below, you will see the HTTP methods when you select the API Connector option:
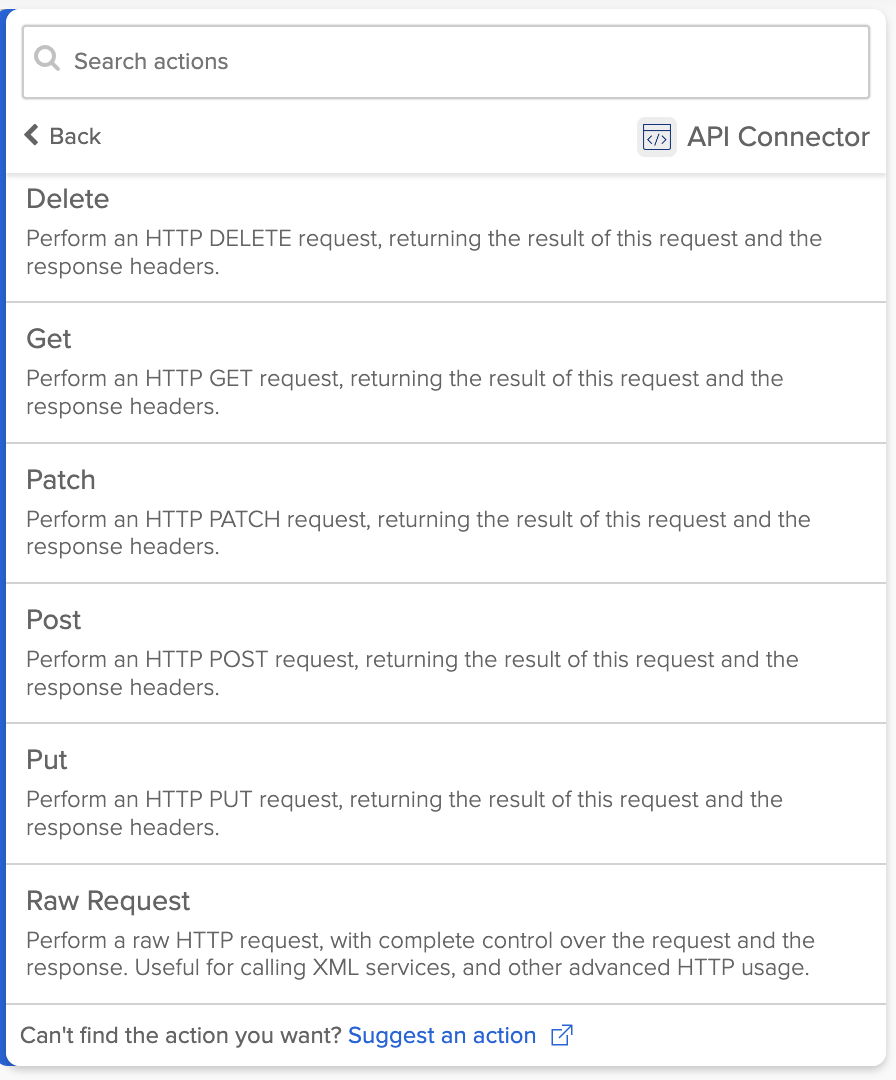
API Connector actions.
The ShipEngine Validate an Address API uses a POST. Choose the Post action:
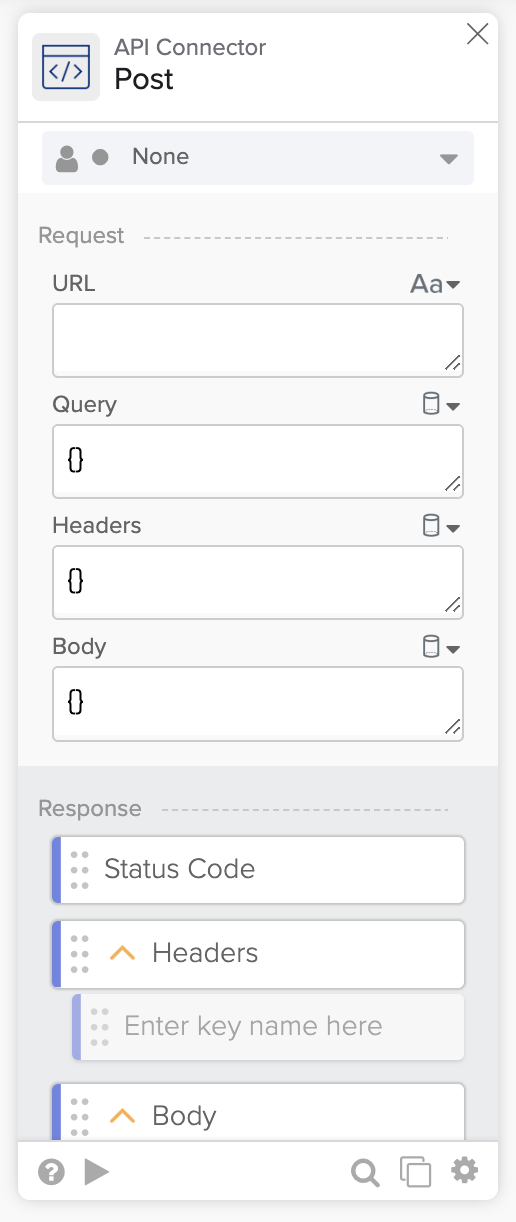
The API Connector – Post card.
You must provide the URL, Query, Headers, and Body fields for the API request. You also need to configure authentication for the request.
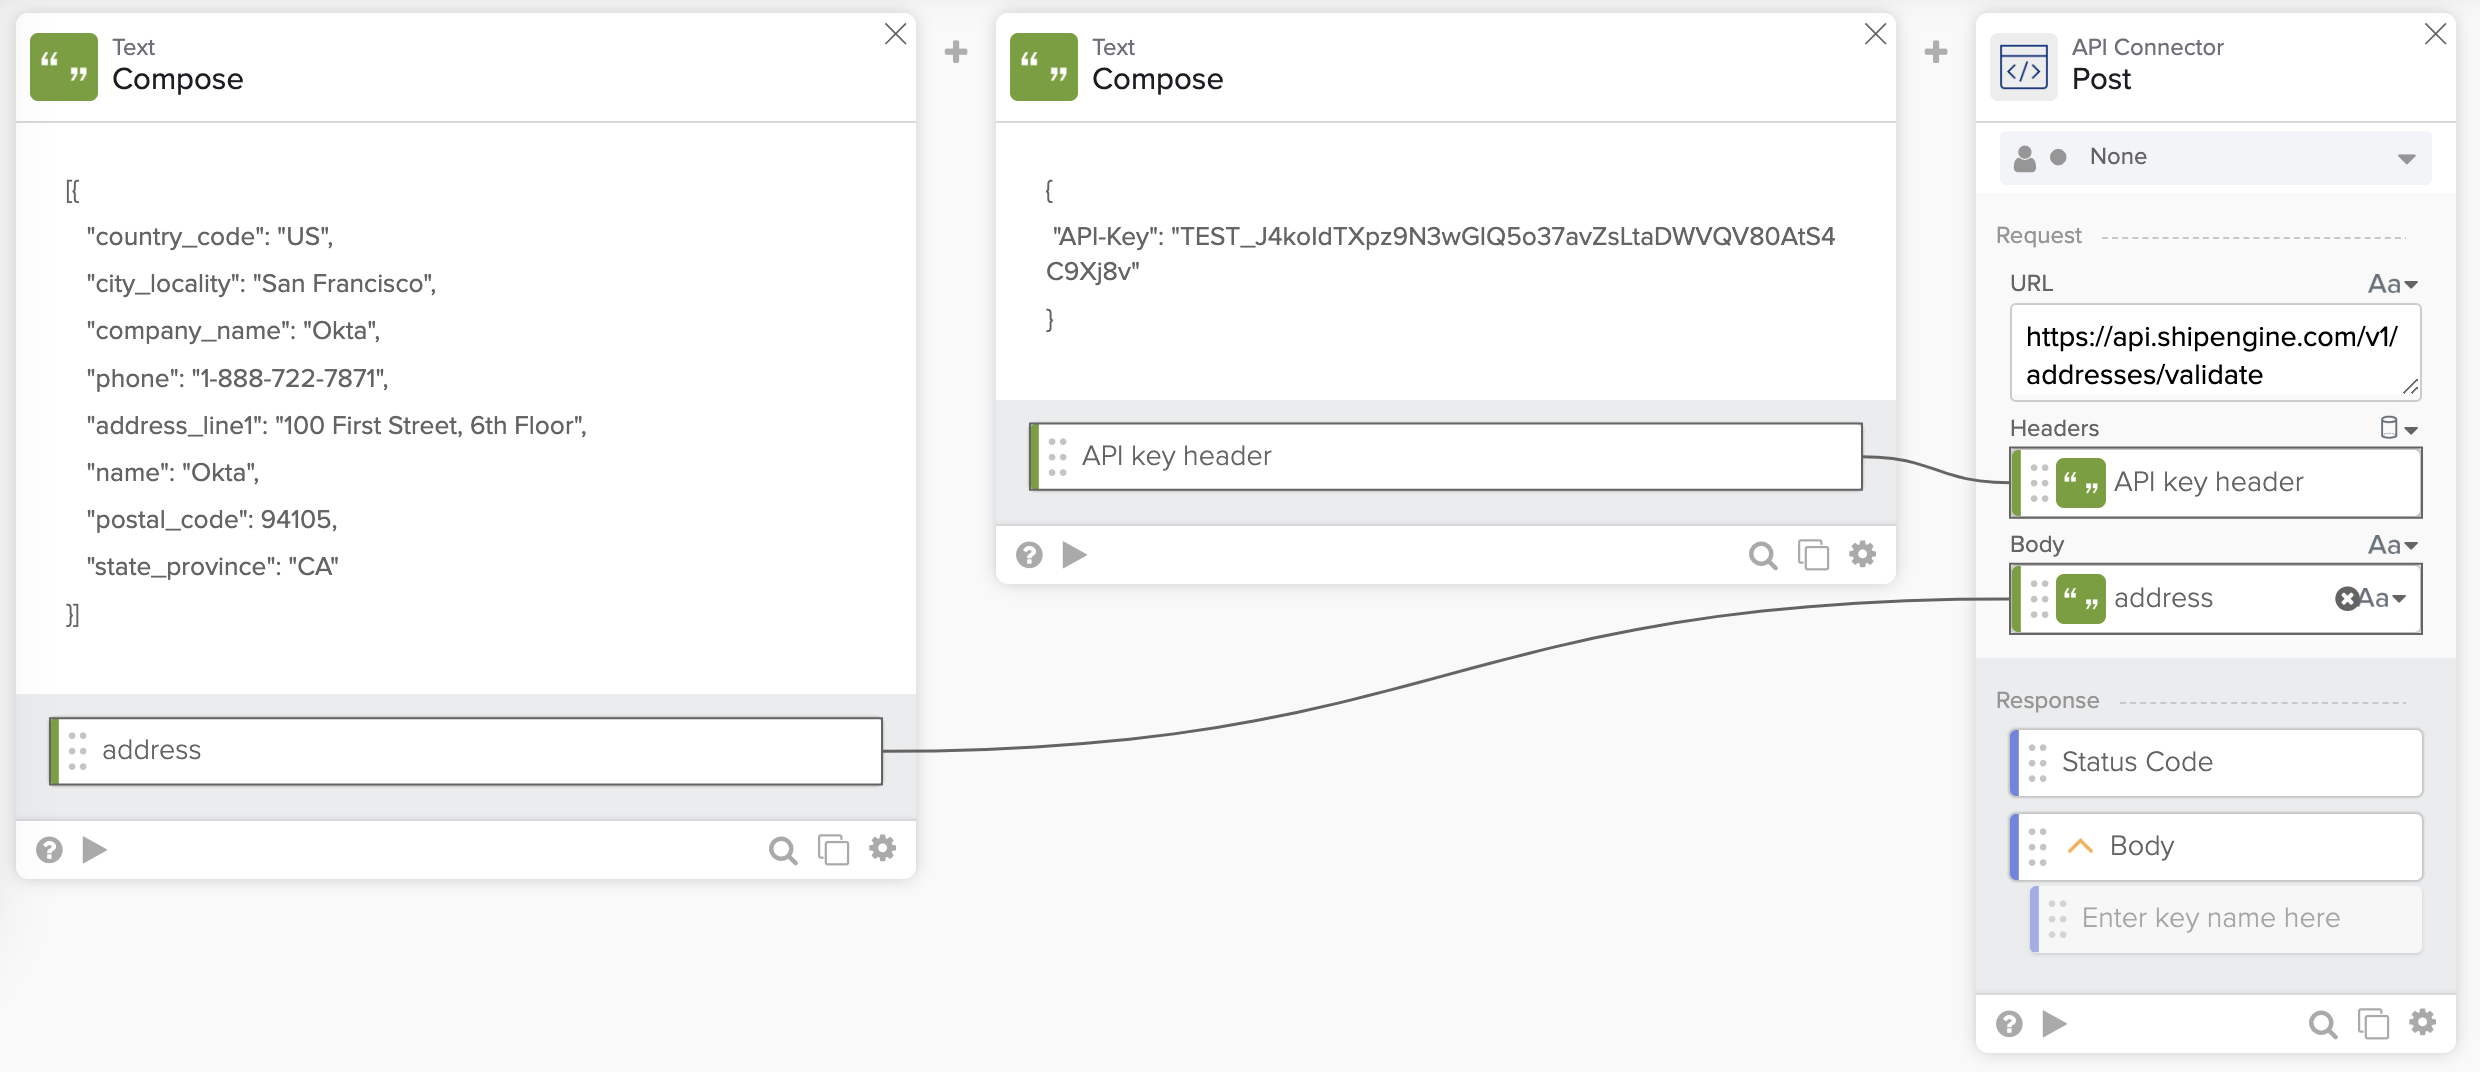
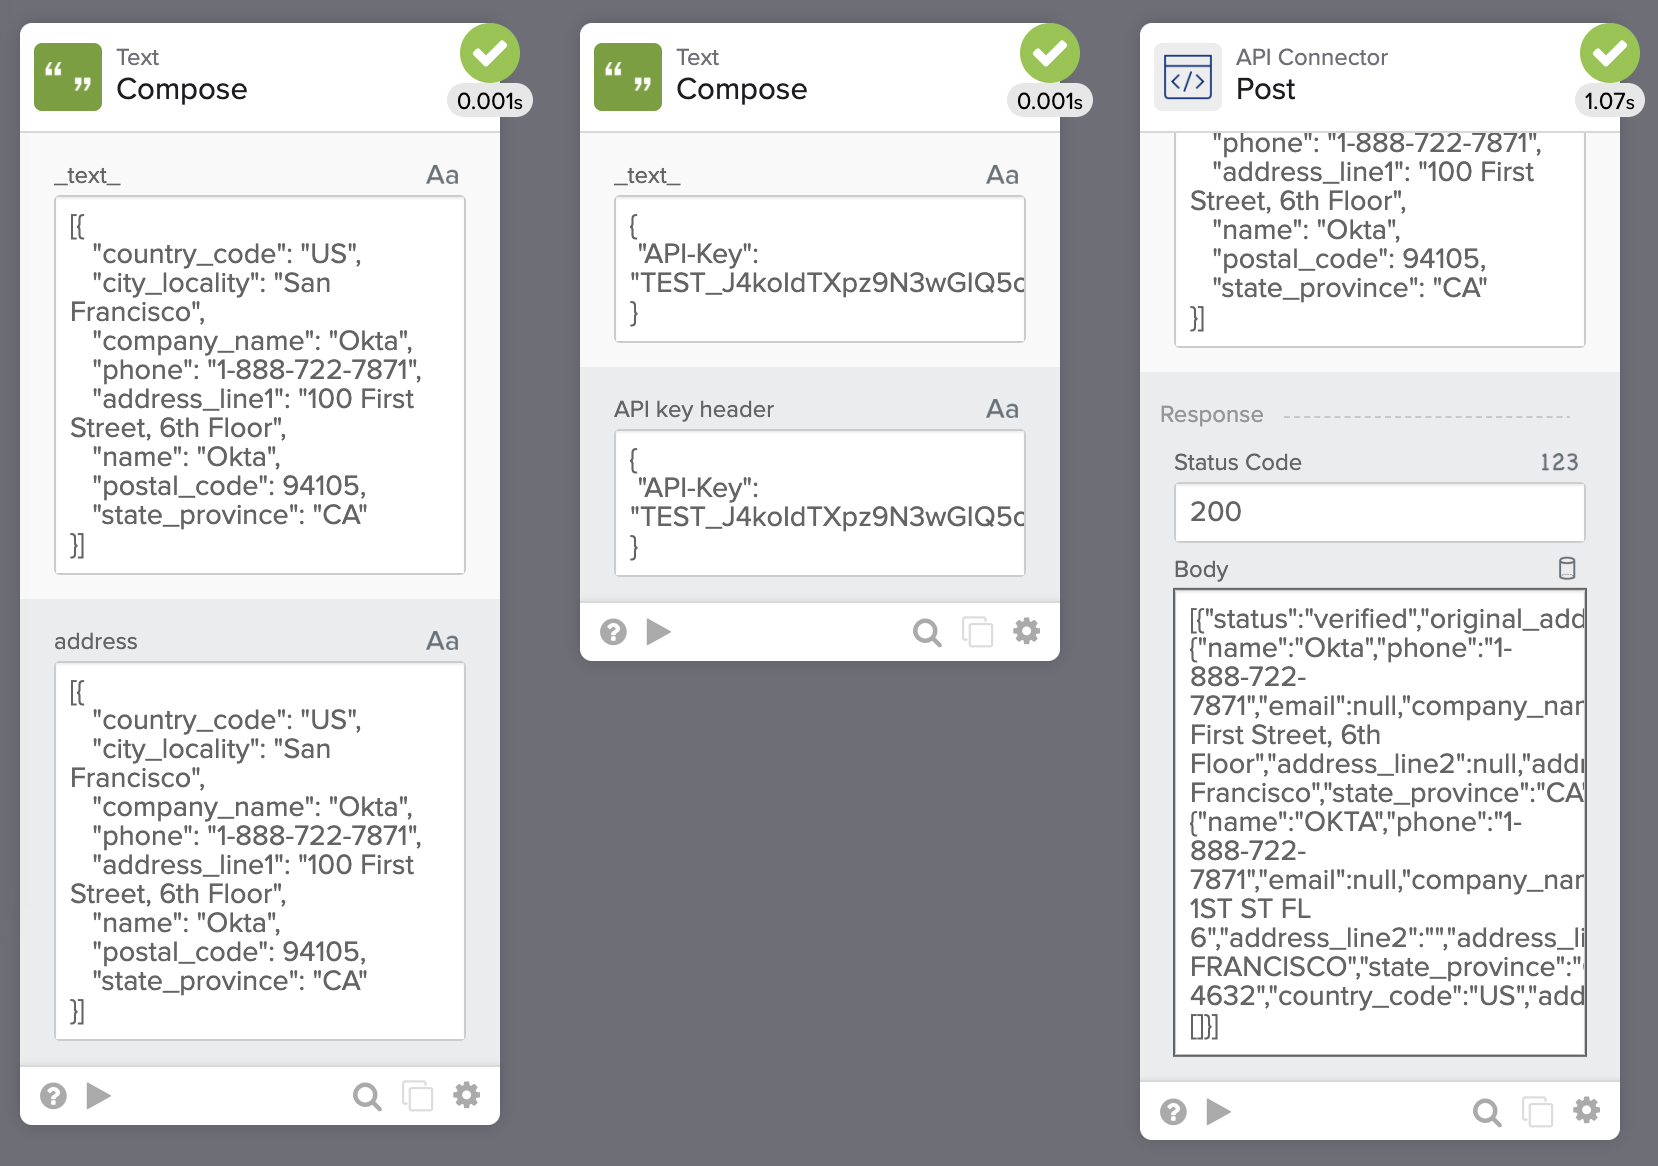
Validate address with ShipEngine API.
To configure the API Connector – Post card:
- Set the URL field to https://api.shipengine.com/v1/addresses/validate.
- The ShipEngine service uses an API key for authentication. The Compose card creates the API key string and passes it to the Headers field.
- The Compose card creates the address to validate and passes it to the Body field.
Running the flow to validate an address:
Validate address with ShipEngine API flow execution.
Reuse connection information
If you use an API often, you can move the authentication information into a connection and reuse it.
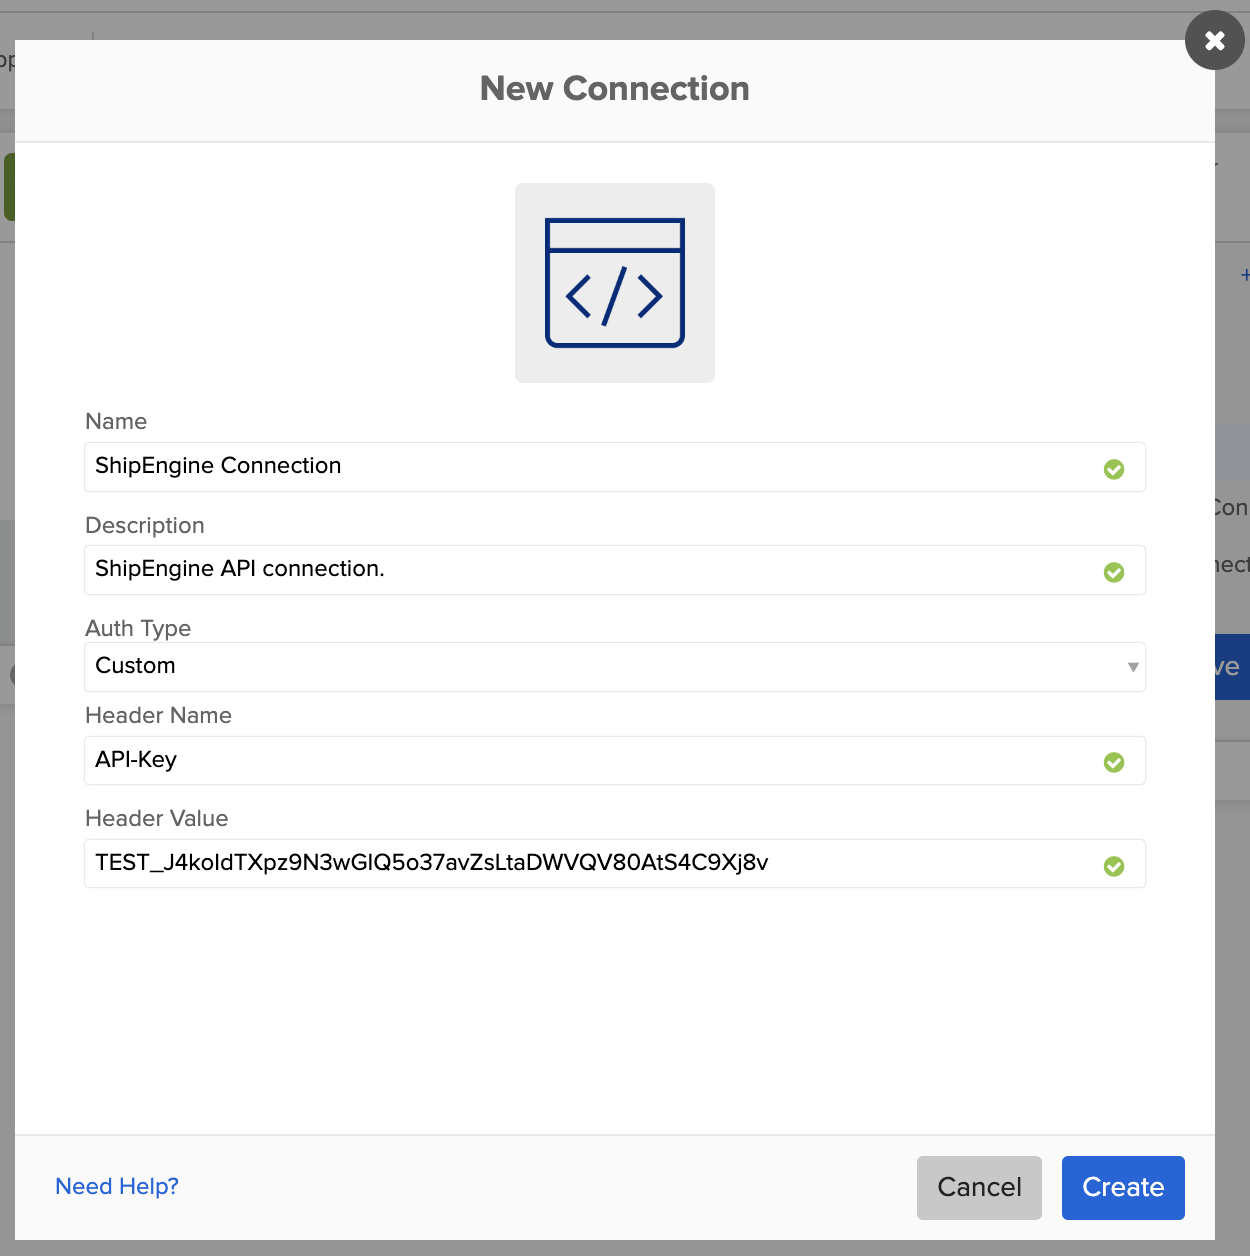
ShipEngine connection.
With the API authentication saved into a connection, you can reuse the connection when you call the ShipEngine API:
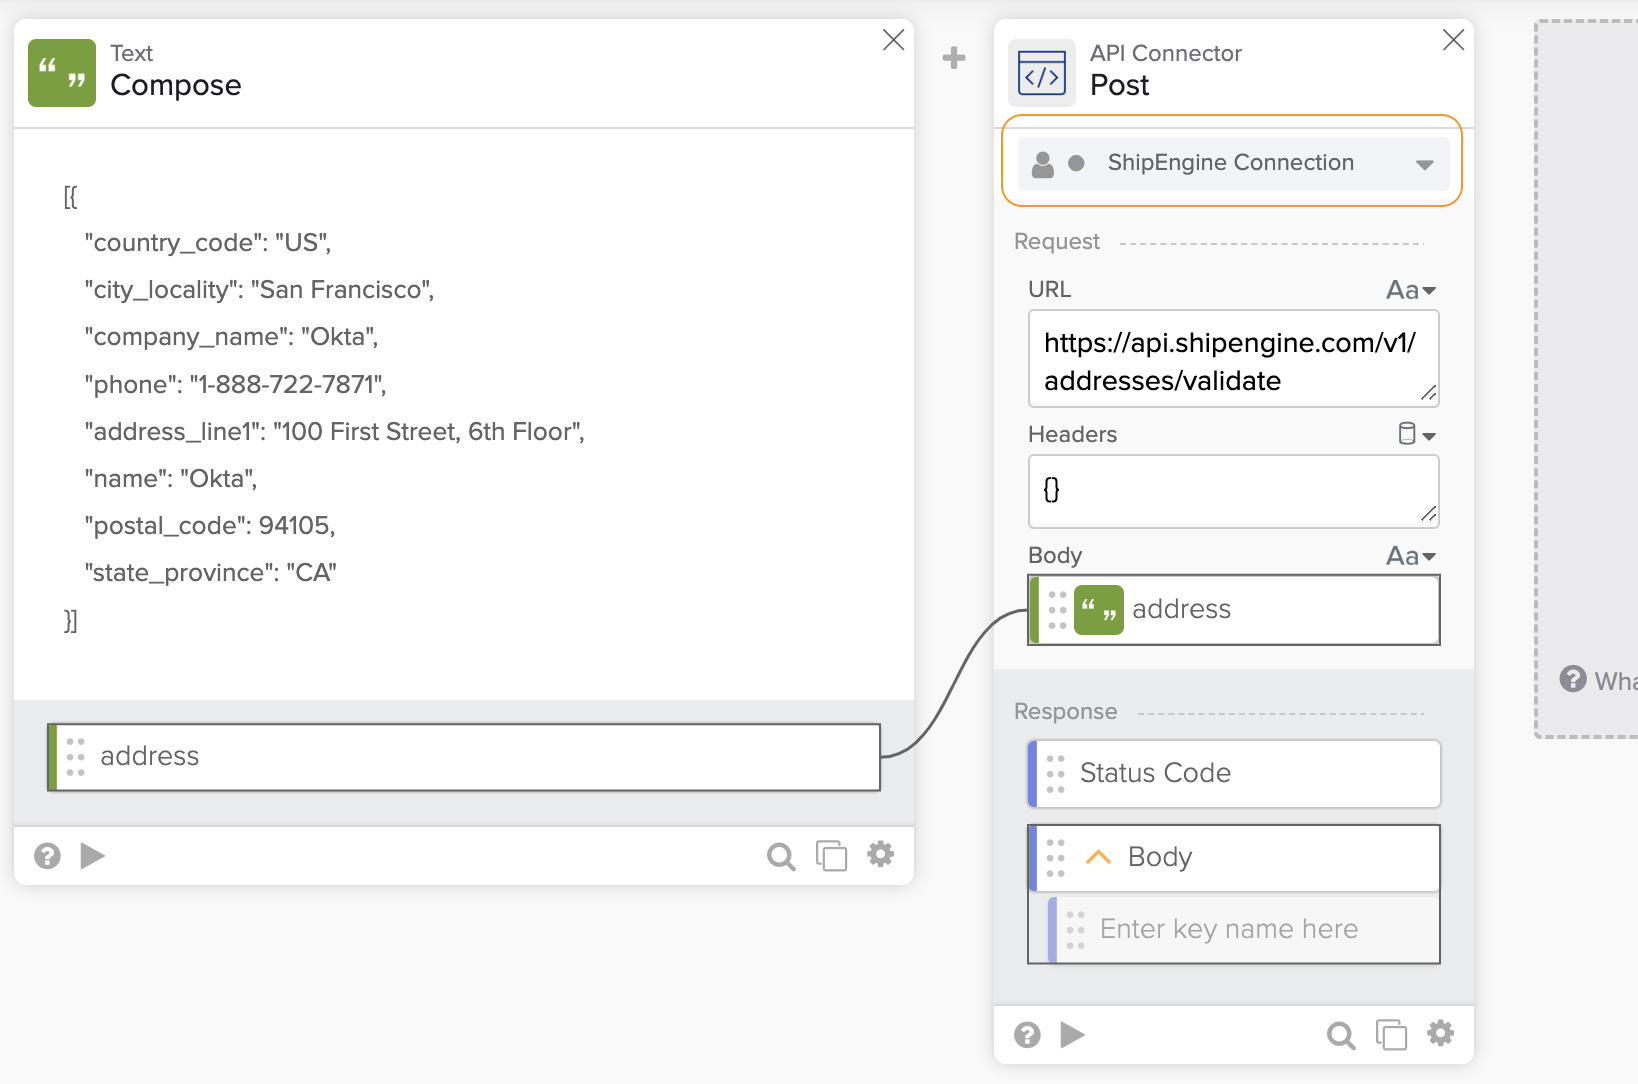
Calling ShipEngine API.
You learned how to call an API using the pre-built API Connector. The following section will teach you how to build a connector with the Connector Builder tool.
Use a connector built with the Connector Builder
If you want your API to have a pre-built connector, you must to use the Okta Workflows Connector Builder to build a connector for the API. You will see the connector listed when you add an app action.
Okta Workflows connectors.
The Connector Builder is a no-code development tool for creating connectors on the Okta Workflows platform. The Connector Builder uses Okta Workflows (flows, action and function cards) to build a connector.
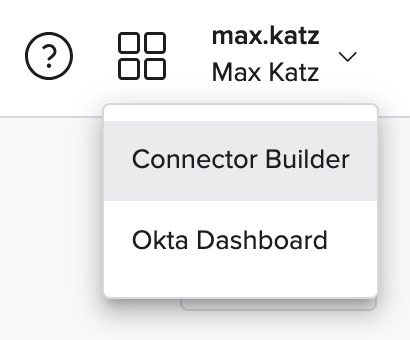
Launch the Connector Builder.
You like the ShipEngine API. You want an Okta Workflows builder to open the connector list and see an icon and a connector for ShipEngine. To see a connector for ShipEngine API you build the connector in the Connector Builder.
The Connector Builder has several views.
The Overview tab has general information about the connector.
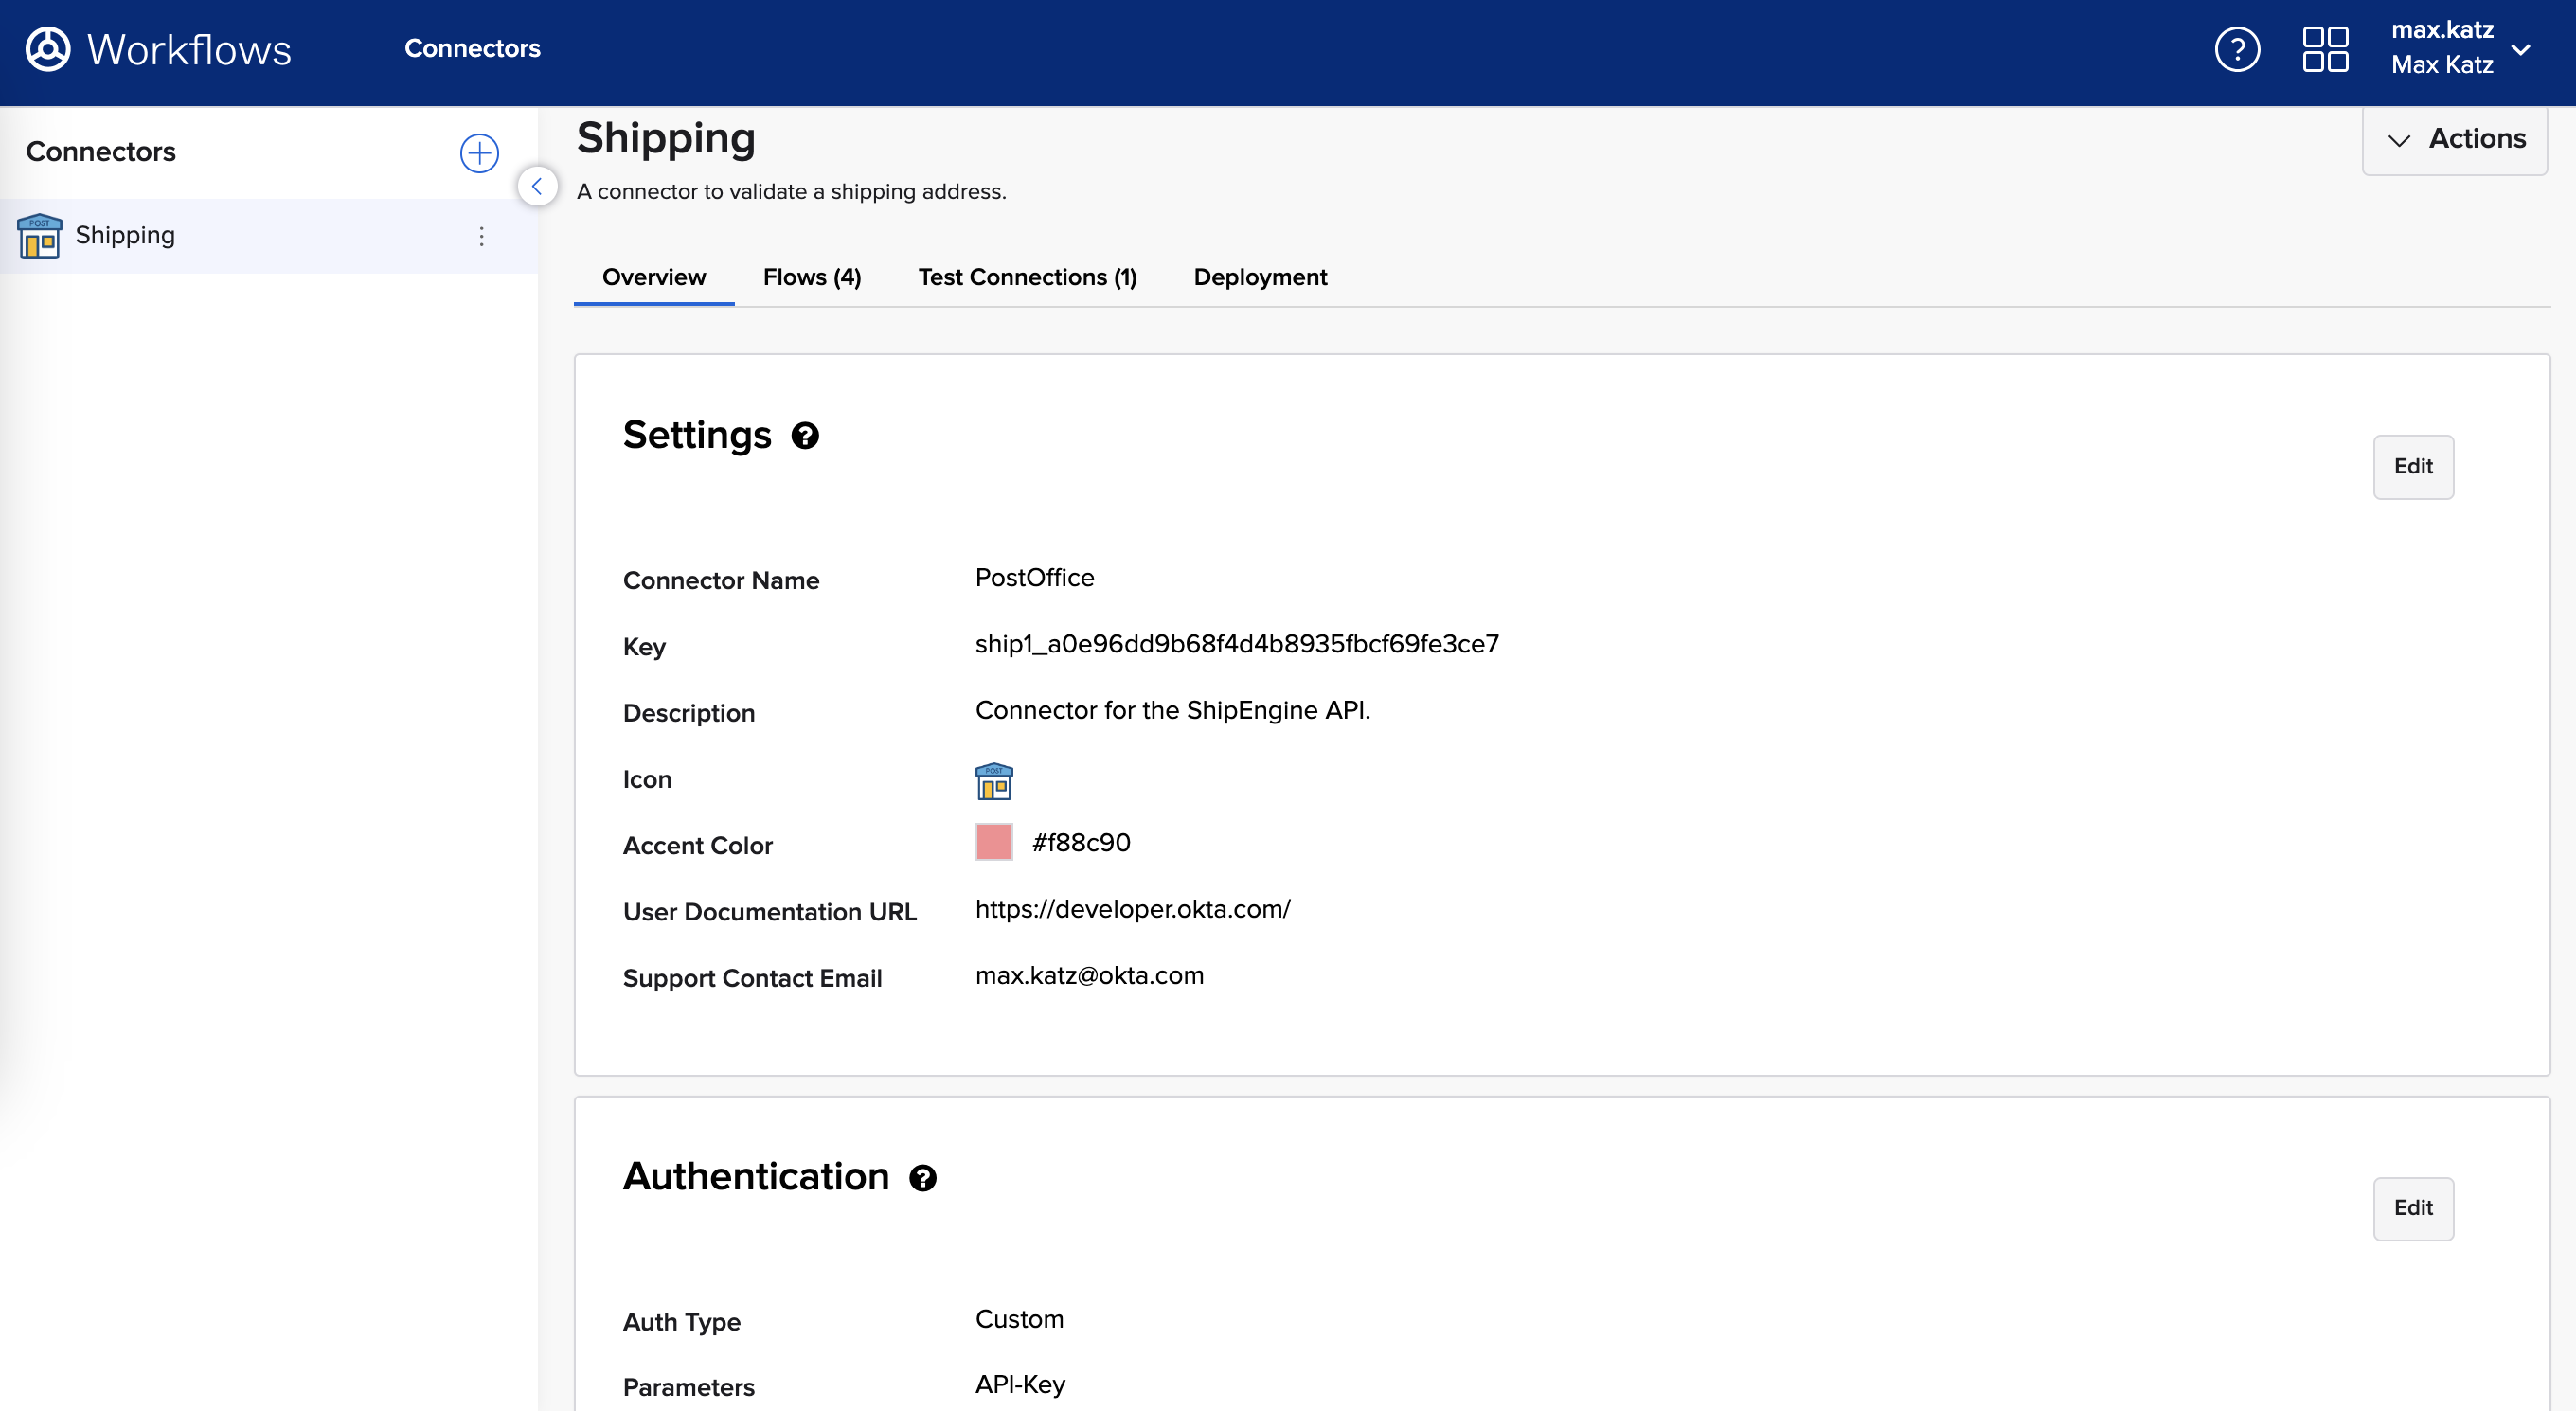
Connector overview.
The Flows tab lists flows that make up the connector.
- The httpHelper flow manages authentication.
- The _authping flow checks connection health.
- The Validate flow creates the connector’s Validate action.
- The Custom API Action flow creates the connector's Custom API Action action.
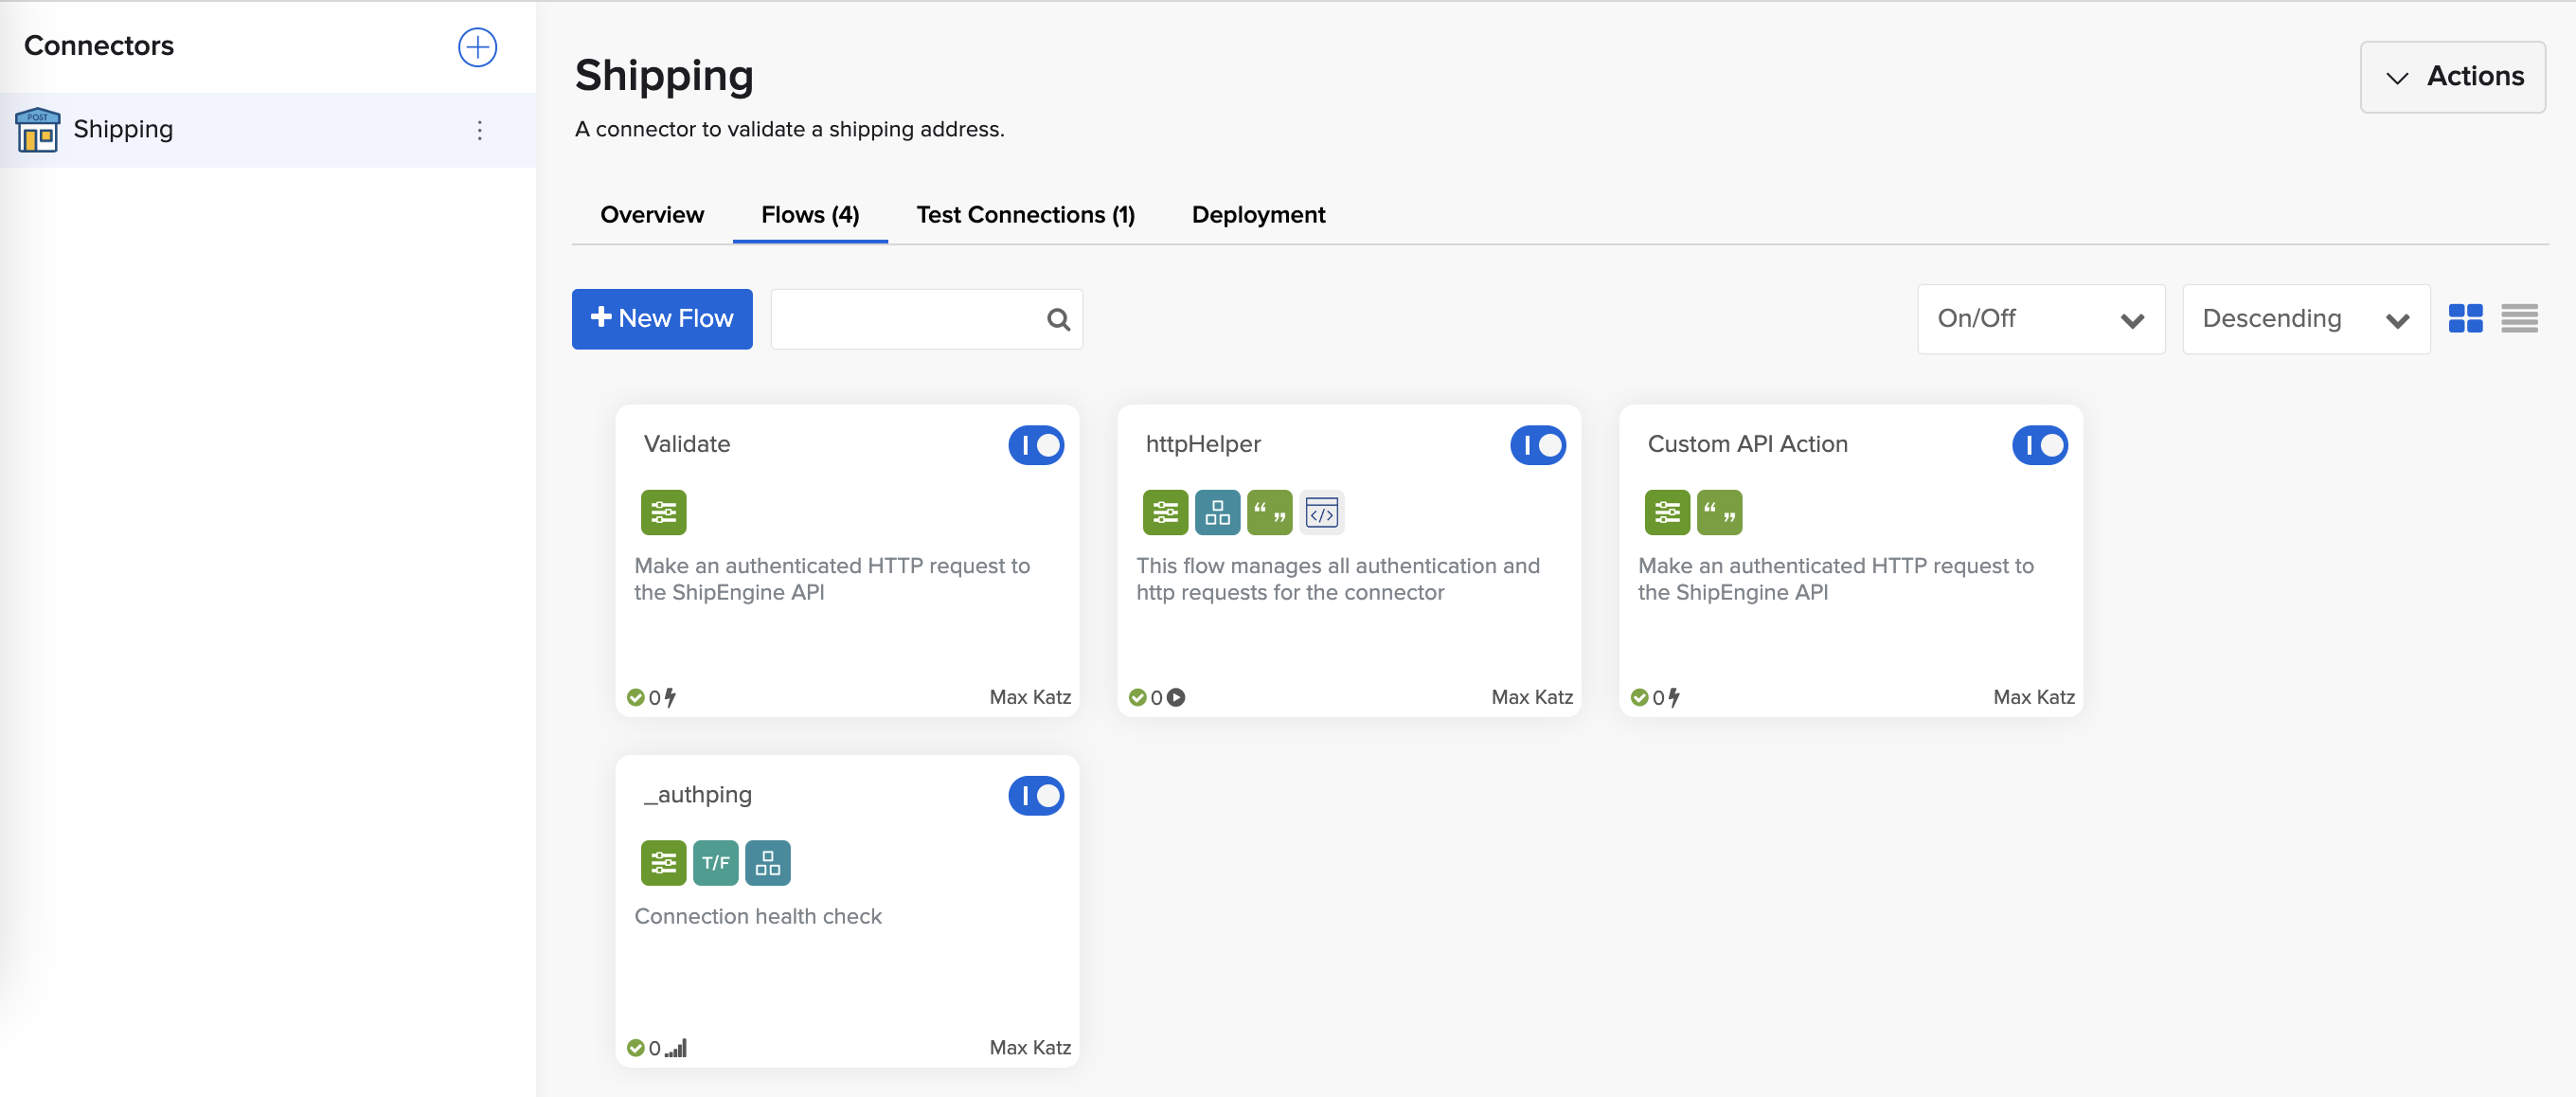
Connector’s flows.
The following flow shows the Validate action implementation:
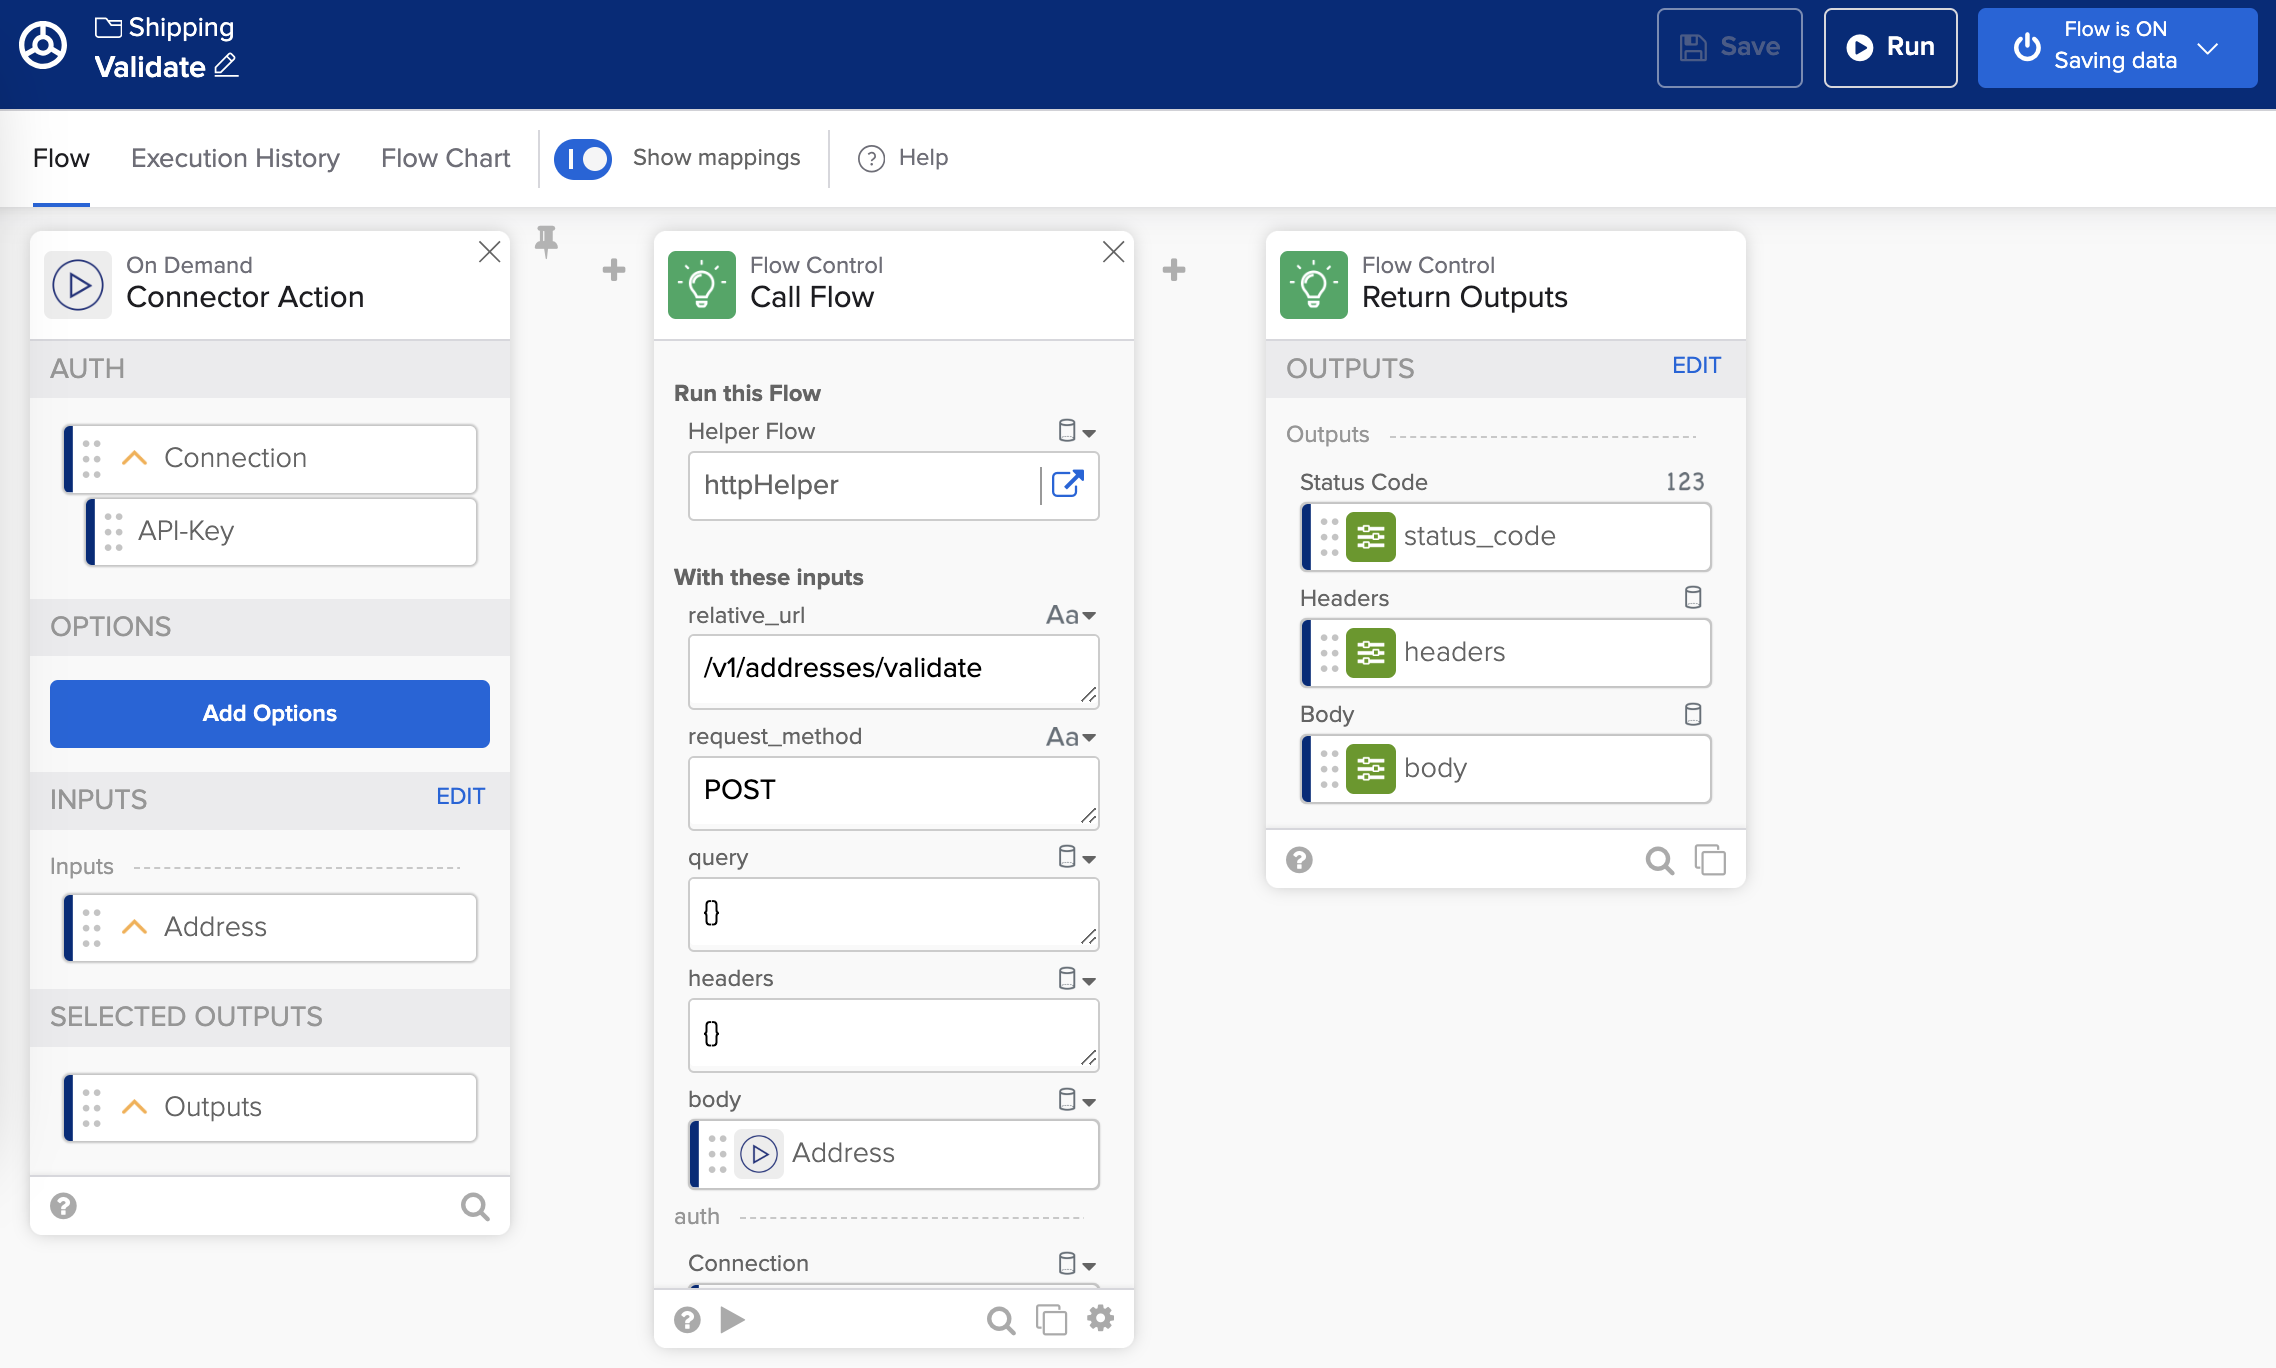
Connector’s Validate action.
The Test Connections tab holds connection information for testing the connector.
The Deployment tab allows to deploy the connector. There are two deployment options.
- Private deployment – the connector is available only in your Okta organization.
- Public deployment – the connector is available to all organizations and all Okta Workflows builders. You must submit the connector to Okta for review for public deployment.
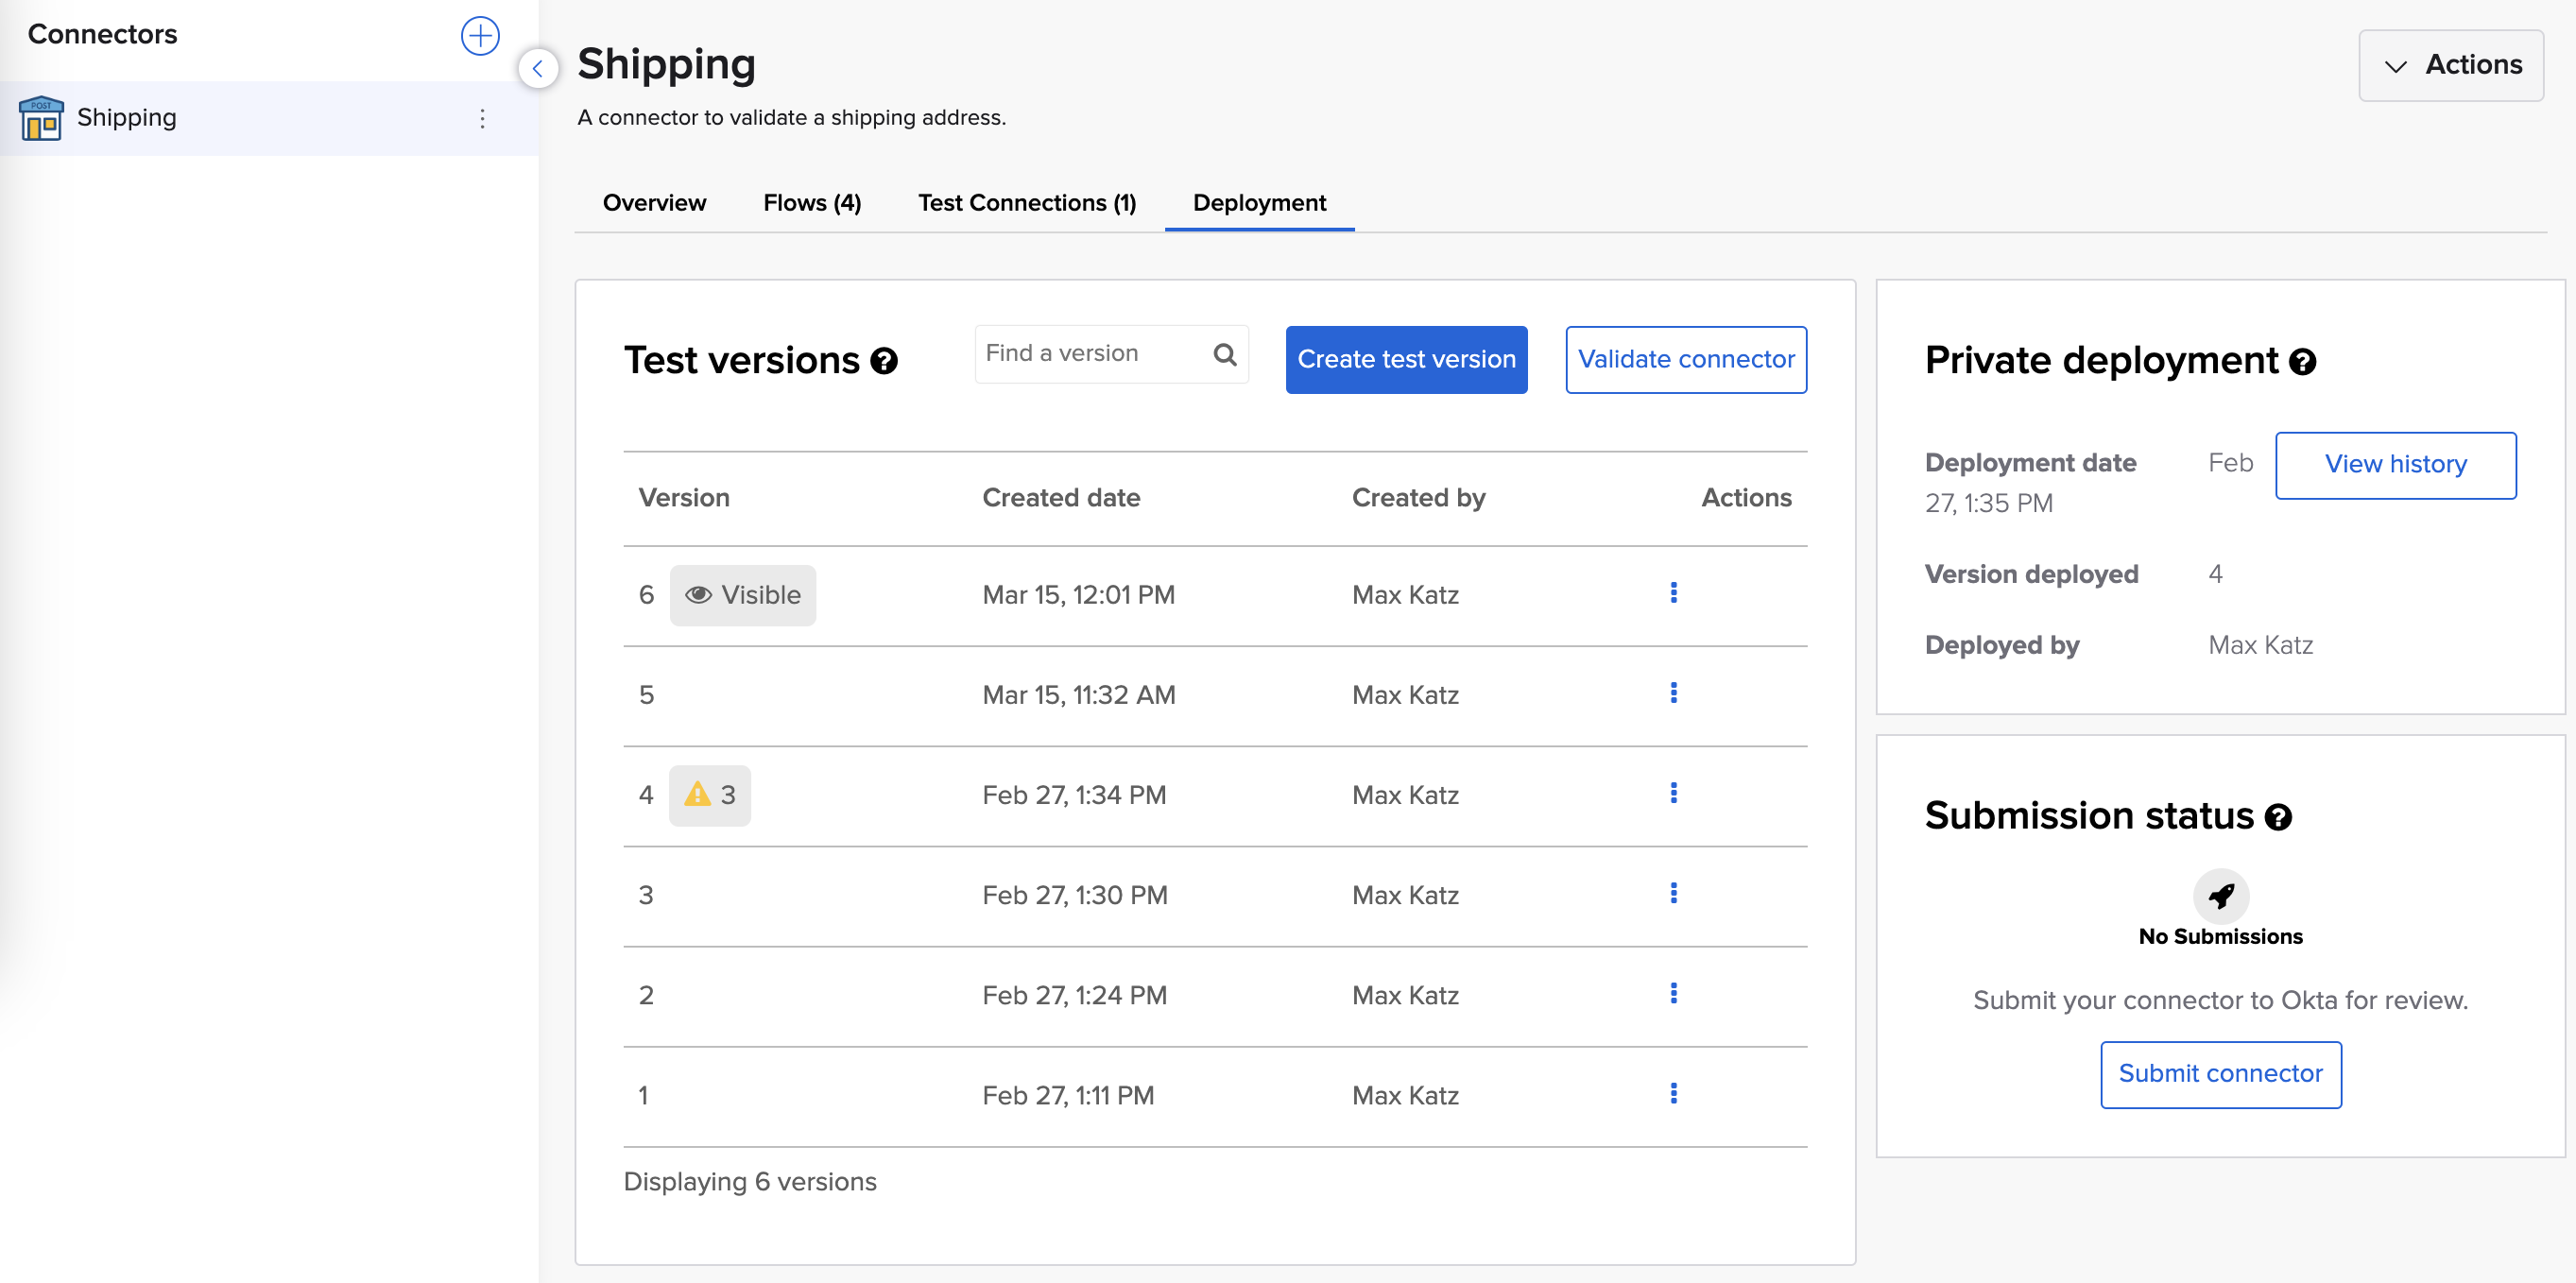
Connector’s deployment.
You can select the connector (PostOffice) from the connector list:
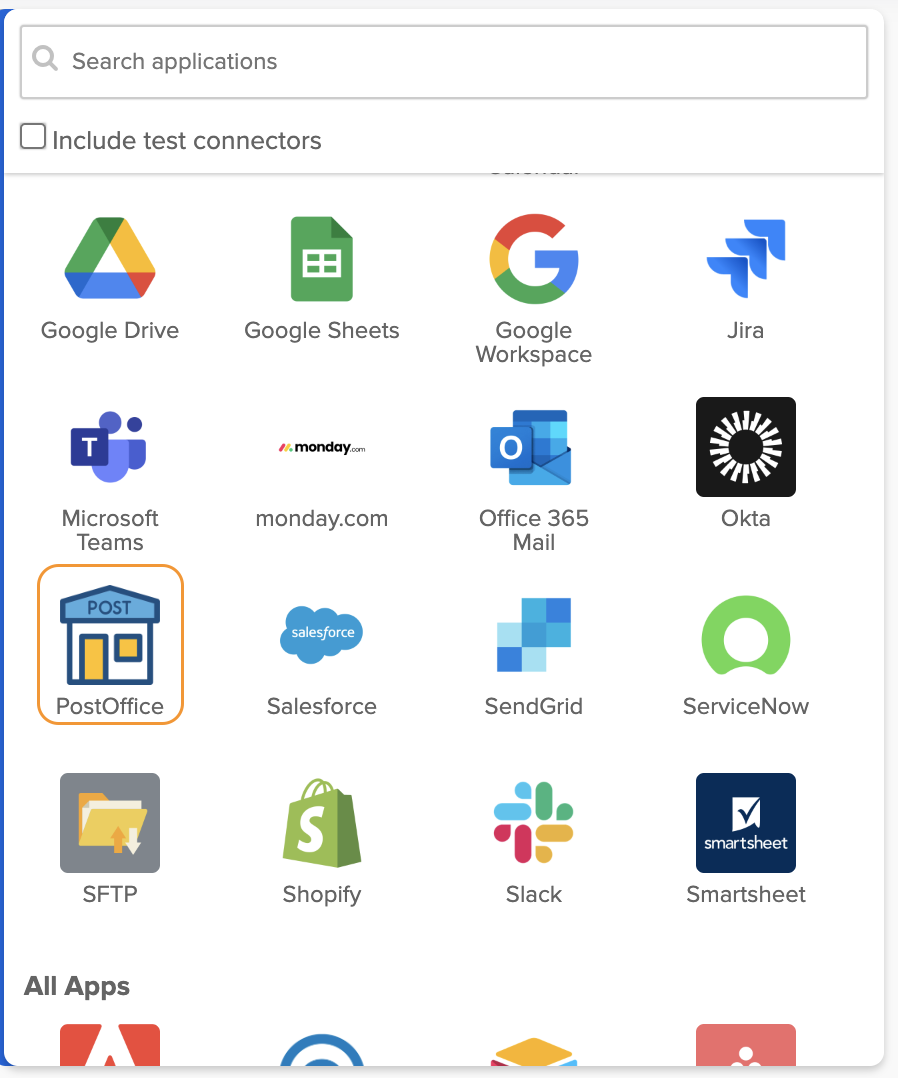
Connector listed in the connector list.
Use the Post Office – Validate action to validate an address:
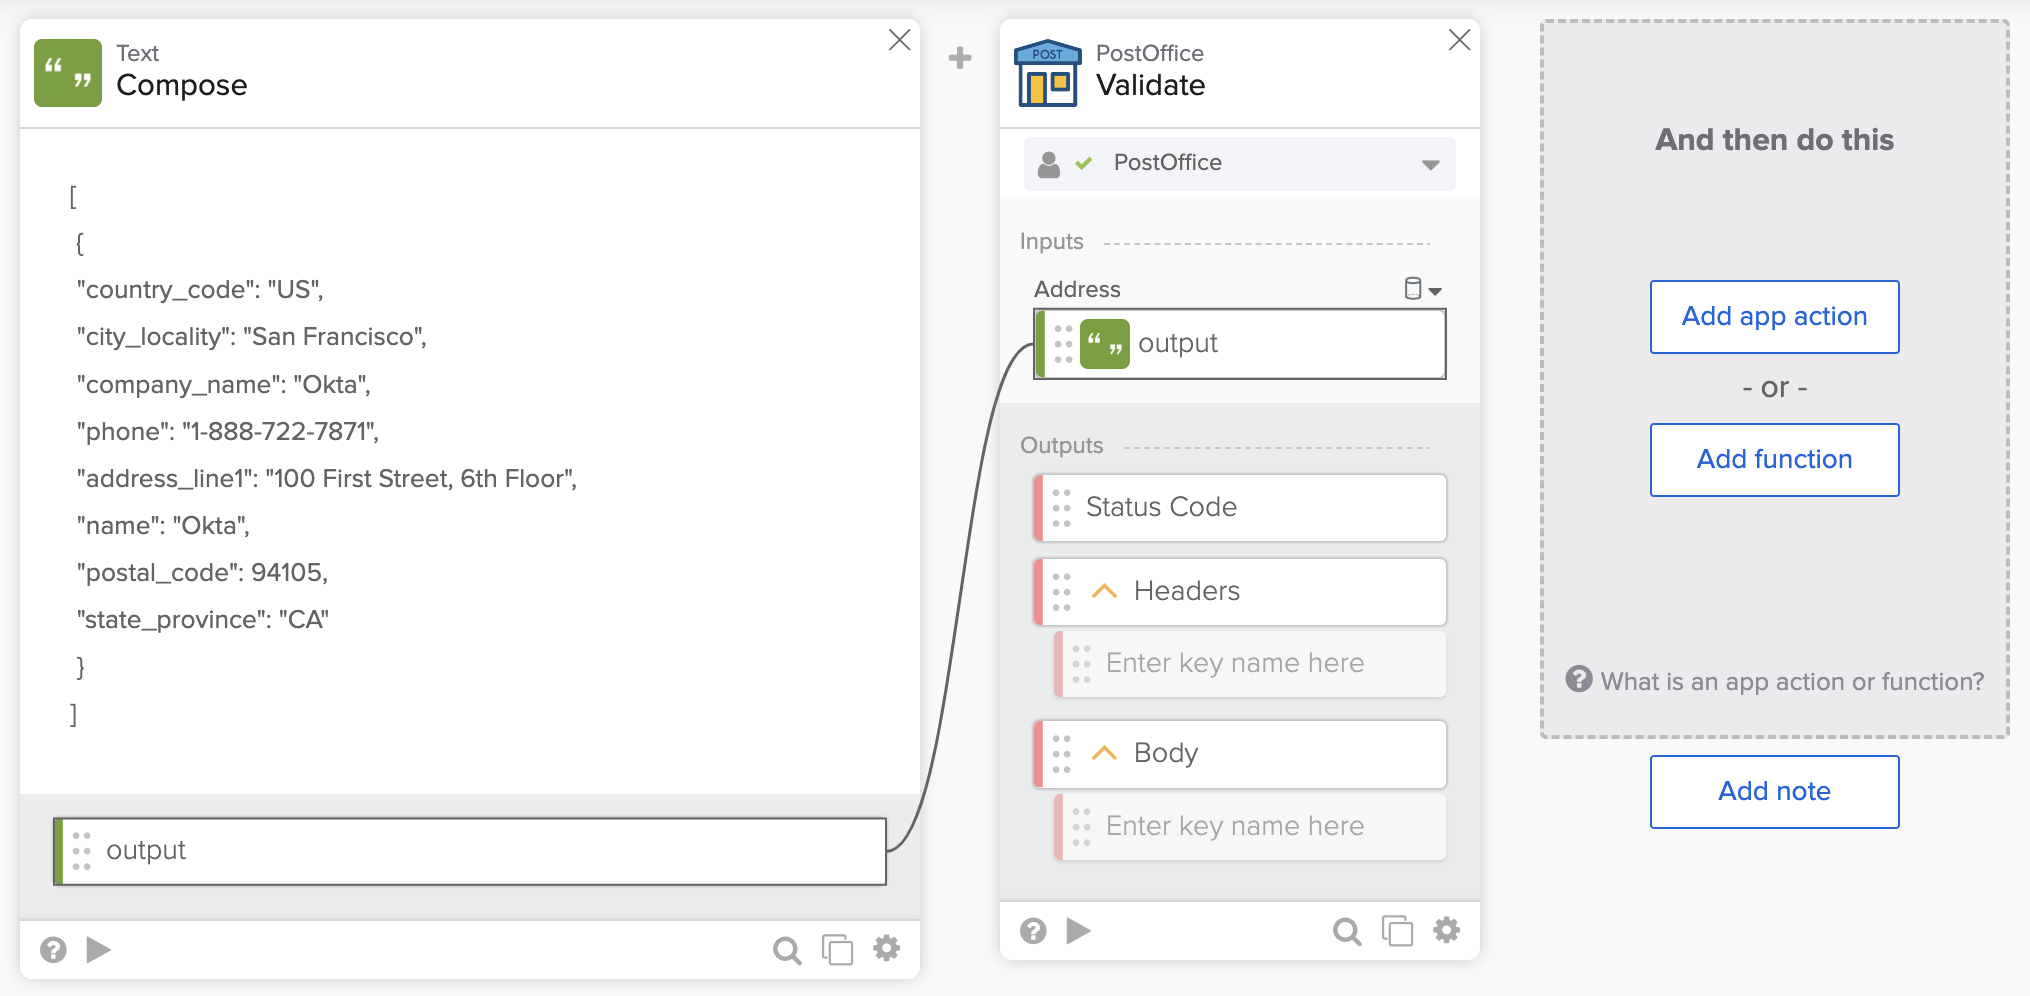
Validate an address with the PostOffice connector.
Running the flow:
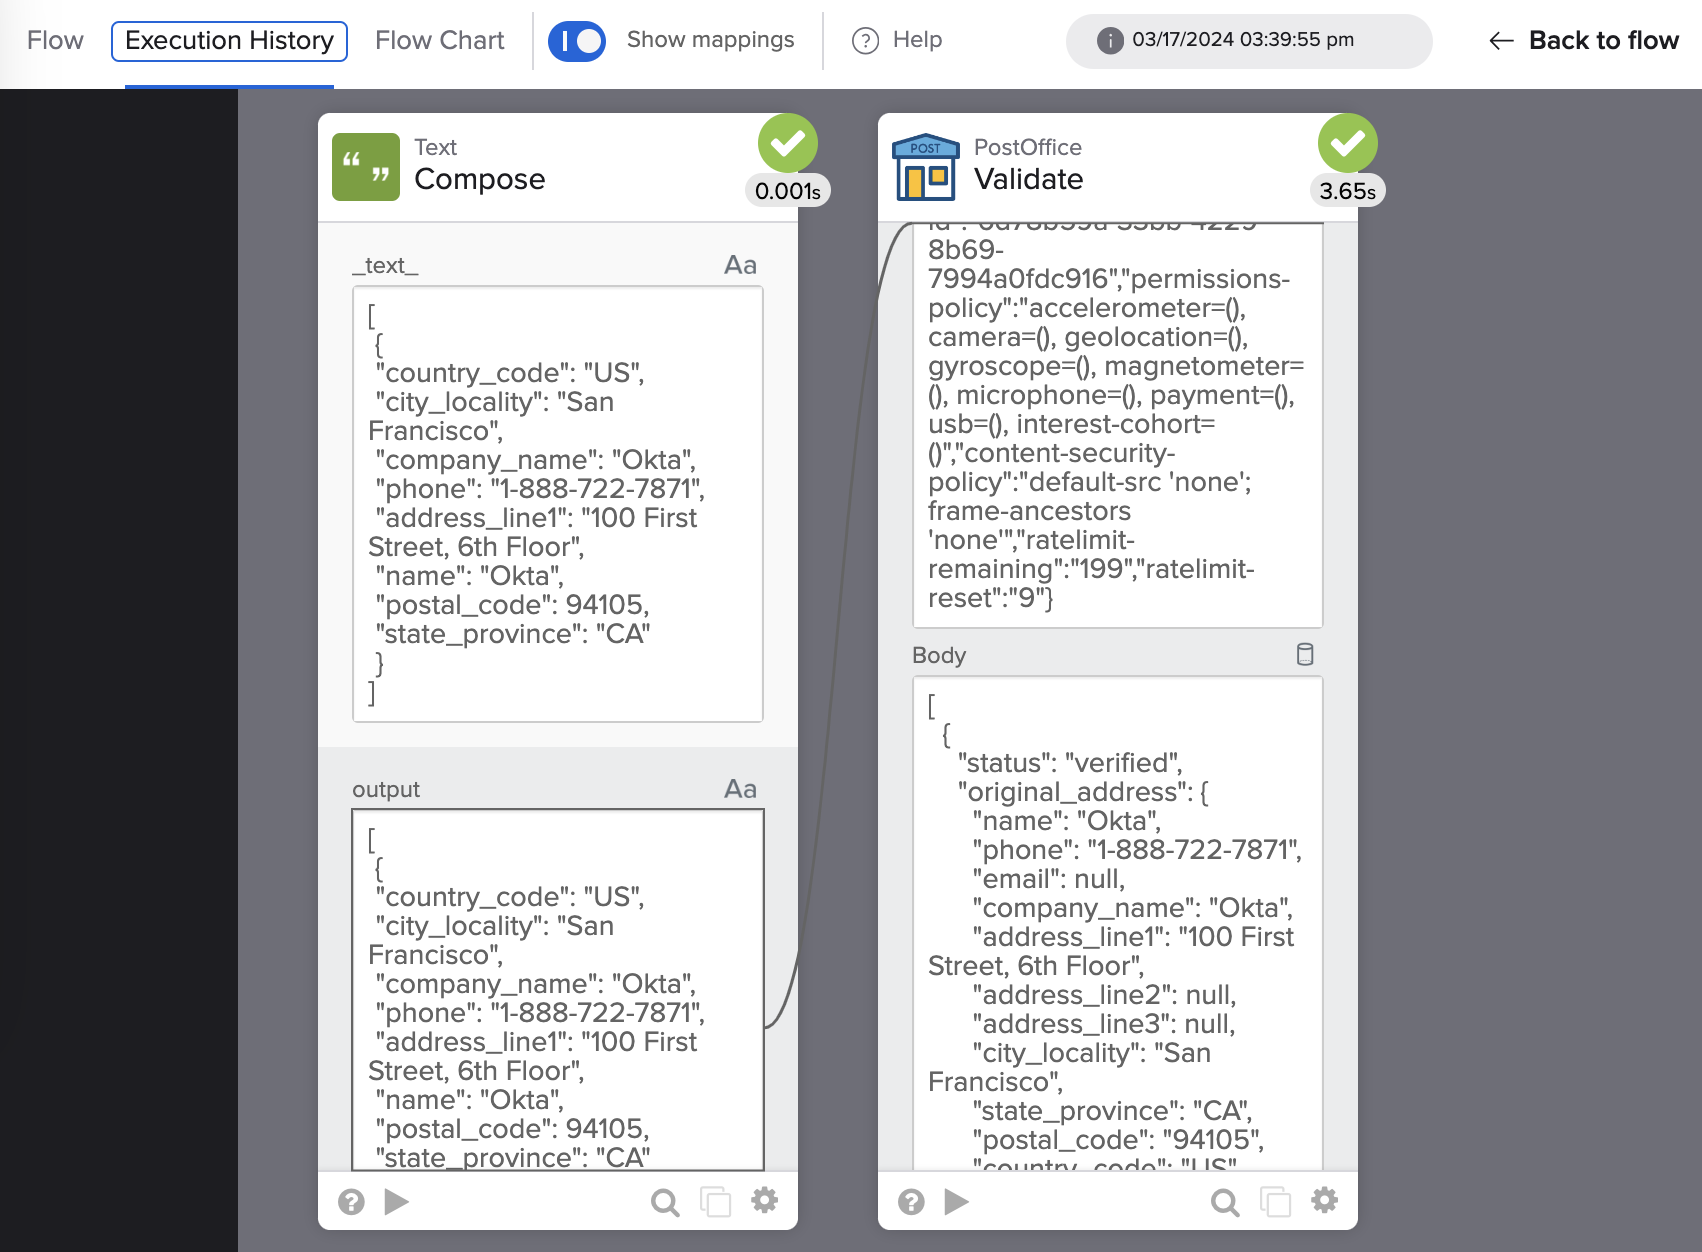
Validating an address.
Which connector option to use
You learned about three ways to call APIs in Okta Workflows:
- Use the pre-built connectors.
- When a connector doesn’t support a specific API endpoint, use the custom API action to call any API on the connector.
- Use the API Connector card.
- Move the authentication information into a connection to reuse.
- Use the Connector Builder to build a connector for an API.
Use the pre-built connectors and the API Connector card the most. The pre-built connectors and the API Connector card offer a lightweight solution for API calls to services.
Use the Connector Builder to create a pre-built connector experience for the automation builder. A pre-built connector helps team members unfamiliar with working with APIs.
Read When to Use Connector Builder and when to Use the API Connector to learn more.
Okta Workflows resources
📖 Connector Builder documentation.
📺 Building a Custom Connector in Okta Workflows, a Video Series.
🍫 Get help from Workflows specialists during weekly community office hours.
🛟 Get help from support: discuss a Workflows topic or ask a question.
🙋🏻♀️ Get help from the community: join the #okta-workflows channel on MacAdmins Slack.


