The Ultimate guide to WebAuthn registration and auth flows
In March 2019, the World Wide Web Consortium (W3C) announced that WebAuthn is now the official web standard for password-free login. With support from a broad set of applications (Microsoft Edge, Chrome, Firefox, Mobile), widespread adoption of WebAuthn is expected in coming years.
In previous blog posts we went through how WebAuthn can benefit your customer experience and strengthen your security posture, as well as some of the key components/terminology that make up this new technology.
In this post, we will explore how the registration and authentication flows work, and thereby understand how Webauthn is both a secure and convenient authentication method.
How does user registration work ?
Webauthn Registration from Okta-Inc
Step 1: User intiaties device setup on device. Submit username (without any password) to the web (relying party) server.
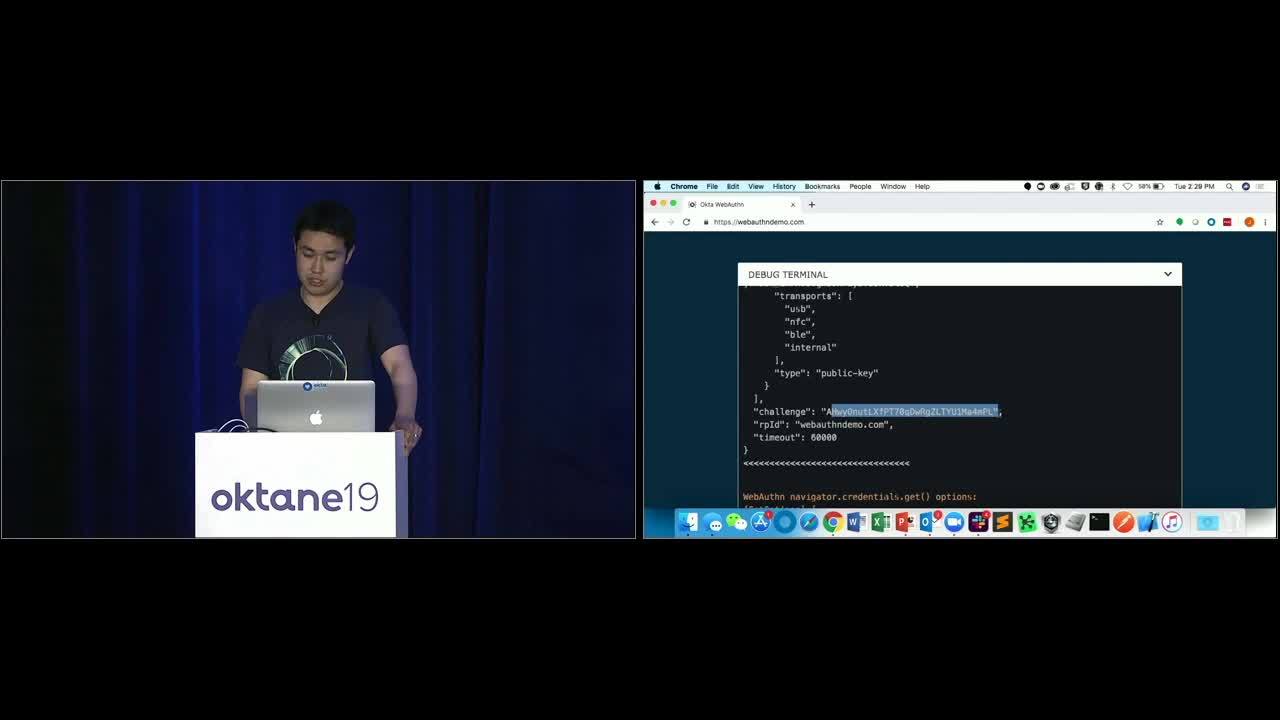
Step 2: Relying party server generates a challenge key for registration (one time use). The challenge is a randomly generated long string that cannot be guessed. The server also sends a userid and relying party info which is information about the relying party server.
Step 3: The JavaScript client calls navigator.credentials.create(). The browser validates the relying party ID which should match the origin’s authoritative domain name, and then calls the authenticator to generate a credential. The authenticator can be a FIDO2.0 enabled external authenticator or a platform authenticator like the fingerprint read built into your laptop or your phone. The authenticator checks for user verification and consent.
Step 4: Once consent is given, the authenticator generates a new public-private key pair and safely stores the private key which is uniquely tied to the relying party ID. The public key, Credential ID, and other attentestation data sent back to the browser where they are combined to become the attestationObject. This attestation object is used to prove authenticator integrity.
Note: No user password or pin is forwarded or leaves the authenticator.
Step 5: The navigator.credentials.create() Promise resolves to a PublicKeyCredential which contains a globally unique credential ID along with the clientData and attestationObject, and is then returned to the relying party server to finalize the registration.
Step 6: The relying party server validates the signature with the public key, validates the value of the challenge to make sure that has not changed, and validates the attestation object. Now the device is registered.

How does user authentication work?
Webauthn Authentication from Okta-Inc
Step 1: User intiaties login on device by providing username, which is passed onto the web (relying party) server.
Step 2: Relying party server creates a unique challenge, along with the credential ID that is sent back to the web application. Multiple credential ID’s might be sent back to the web application if more than one authenticator has been registered with the web service for that particular user.
Step 3: The JavaScript client calls navigator.credentials.get(). The browser validates the relying party ID against the origin, and then calls the authenticator to authenticate the user.
The user-selected authenticator receives the challenge with the domain name of the challenge and requests consent from the user.
A key part of WebAuthn and why it is resistant to phishing attacks is due to the domain name being stored on the authenticator. Since most phishing attacks are hosted on fake websites, the authenticator will compare domain names that were stored during the registration process.
Typical phishing attacks usually redirect an end user to a fake website where they enter in their credentials, which are then used for executing account takeovers. When using WebAuthn, this risk is eliminated due to the fact that the authenticator (or phone in this case) will verify the domain name for the user. This eliminates the risk of human error in entering the credentials on a malicious website.
Step 4: Once the consent has been provided, the authenticator creates a signed assertion that is sent back to the browser. The assertion contains a signature of the clientDataHash (comprised of the challenge and relying party ID) and authenticator data using the private key generated during registration.
Step 5: The navigator.credentials.get() Promise resolves to a PublicKeyCredential which contains the signed authenticator assertion and forwards it onto to the relying party server.
Step 6: Relying party server verifies signature using the public key that was stored during registration and also verifies the signed challenge to check for replay attacks before it logs in the user.

What’s next?
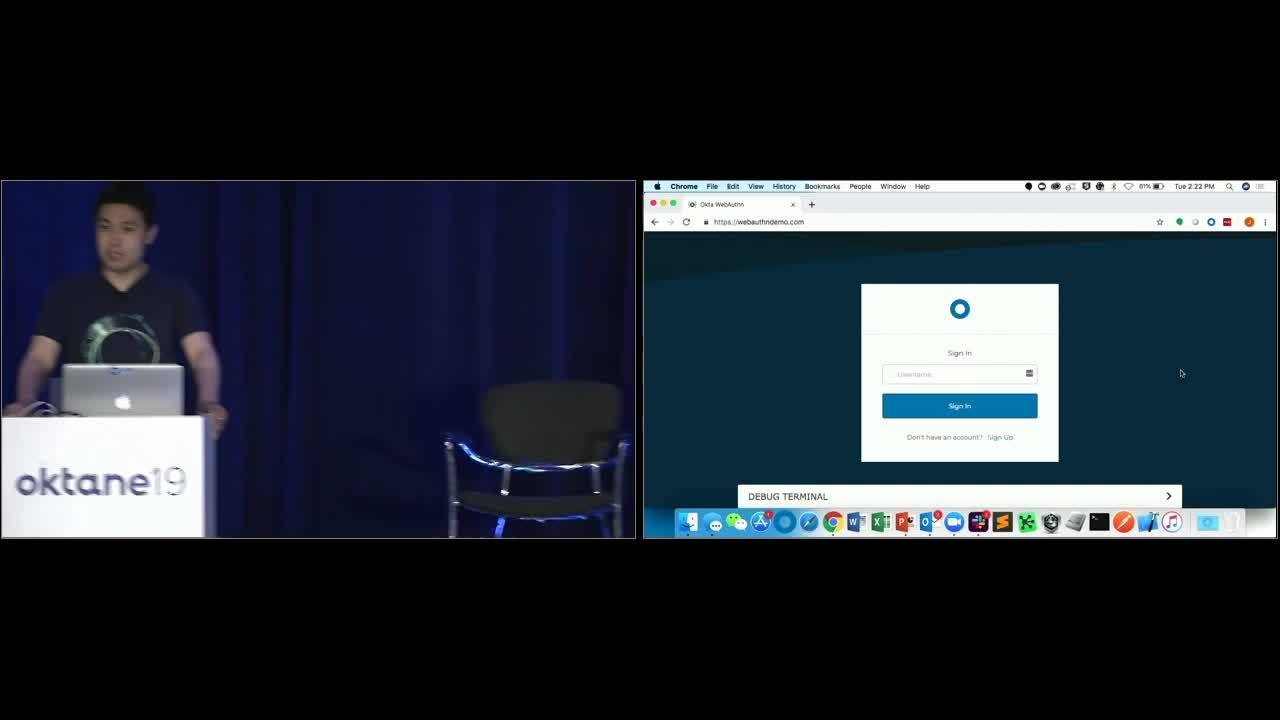
Now that we have explained of the user flows, check out this on-demand webinar to get a complete overview of how Webauthn works. Additionally, this blog post takes you in-depth to show-case how Okta is working to support the Webauthn standard, and this post breaks down what the Webauthn user experience looks like.
You can learn more about WebAuthn by testing out our tool webauthn.me.

